

How to Add a Category?
Learn how to add a category
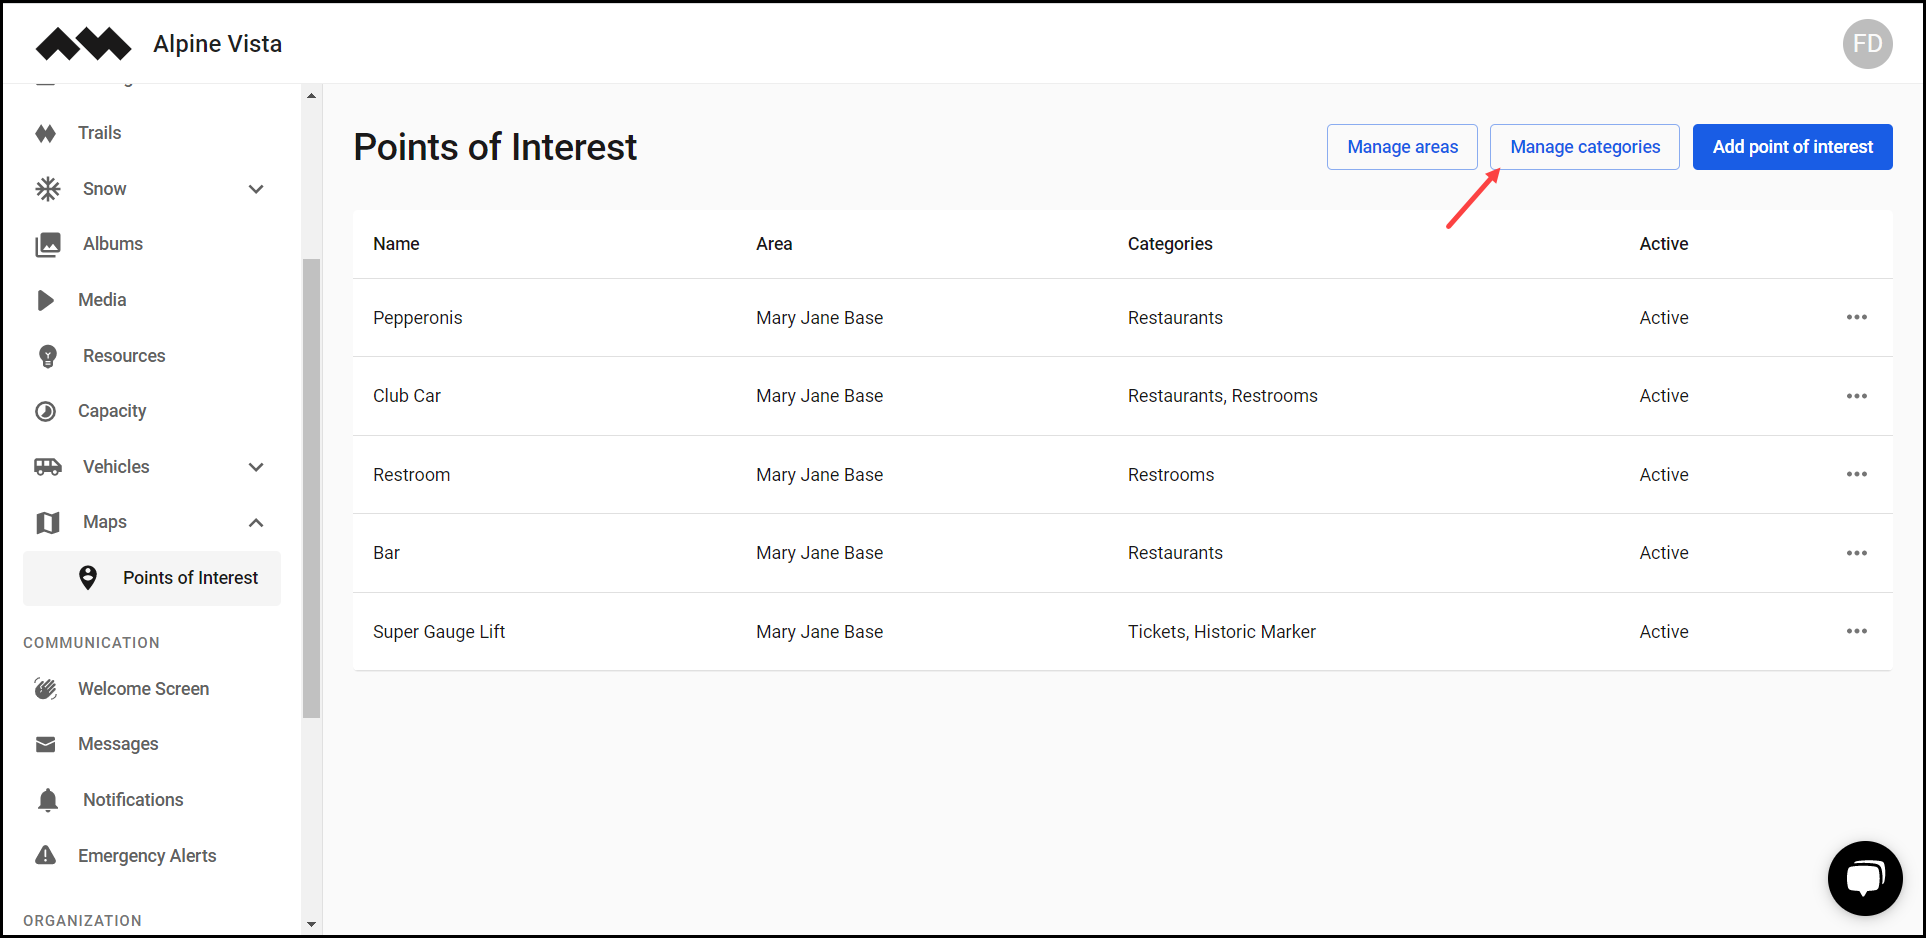
[Organization Name] > Left Navigation Bar > Maps > Points of Interest
1. Follow the above-mentioned workflow to land on the Points of Interest screen.
2. Click the Manage categories button. This takes you to the Map Categories screen.
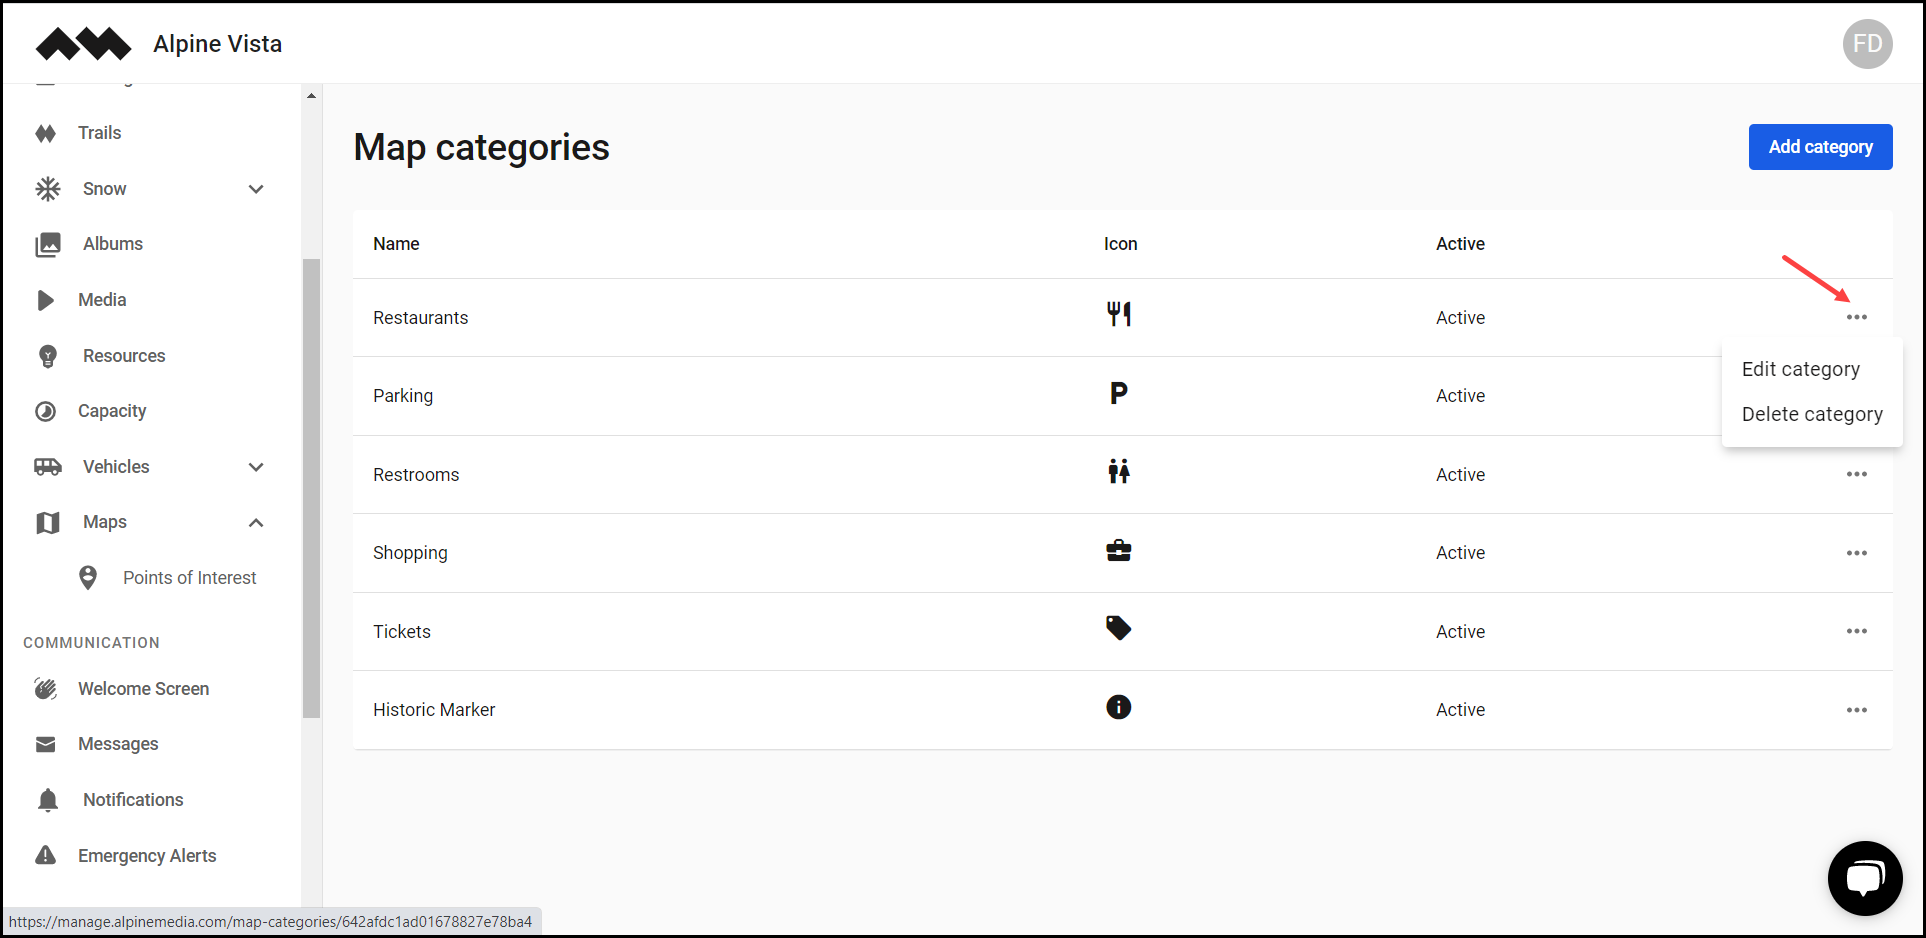
3. Here, all the created categories are tabulated via Name, Icon, and Active columns.
4. Clicking the three-dot icon for a category reveals a menu allowing you to edit or delete the category.
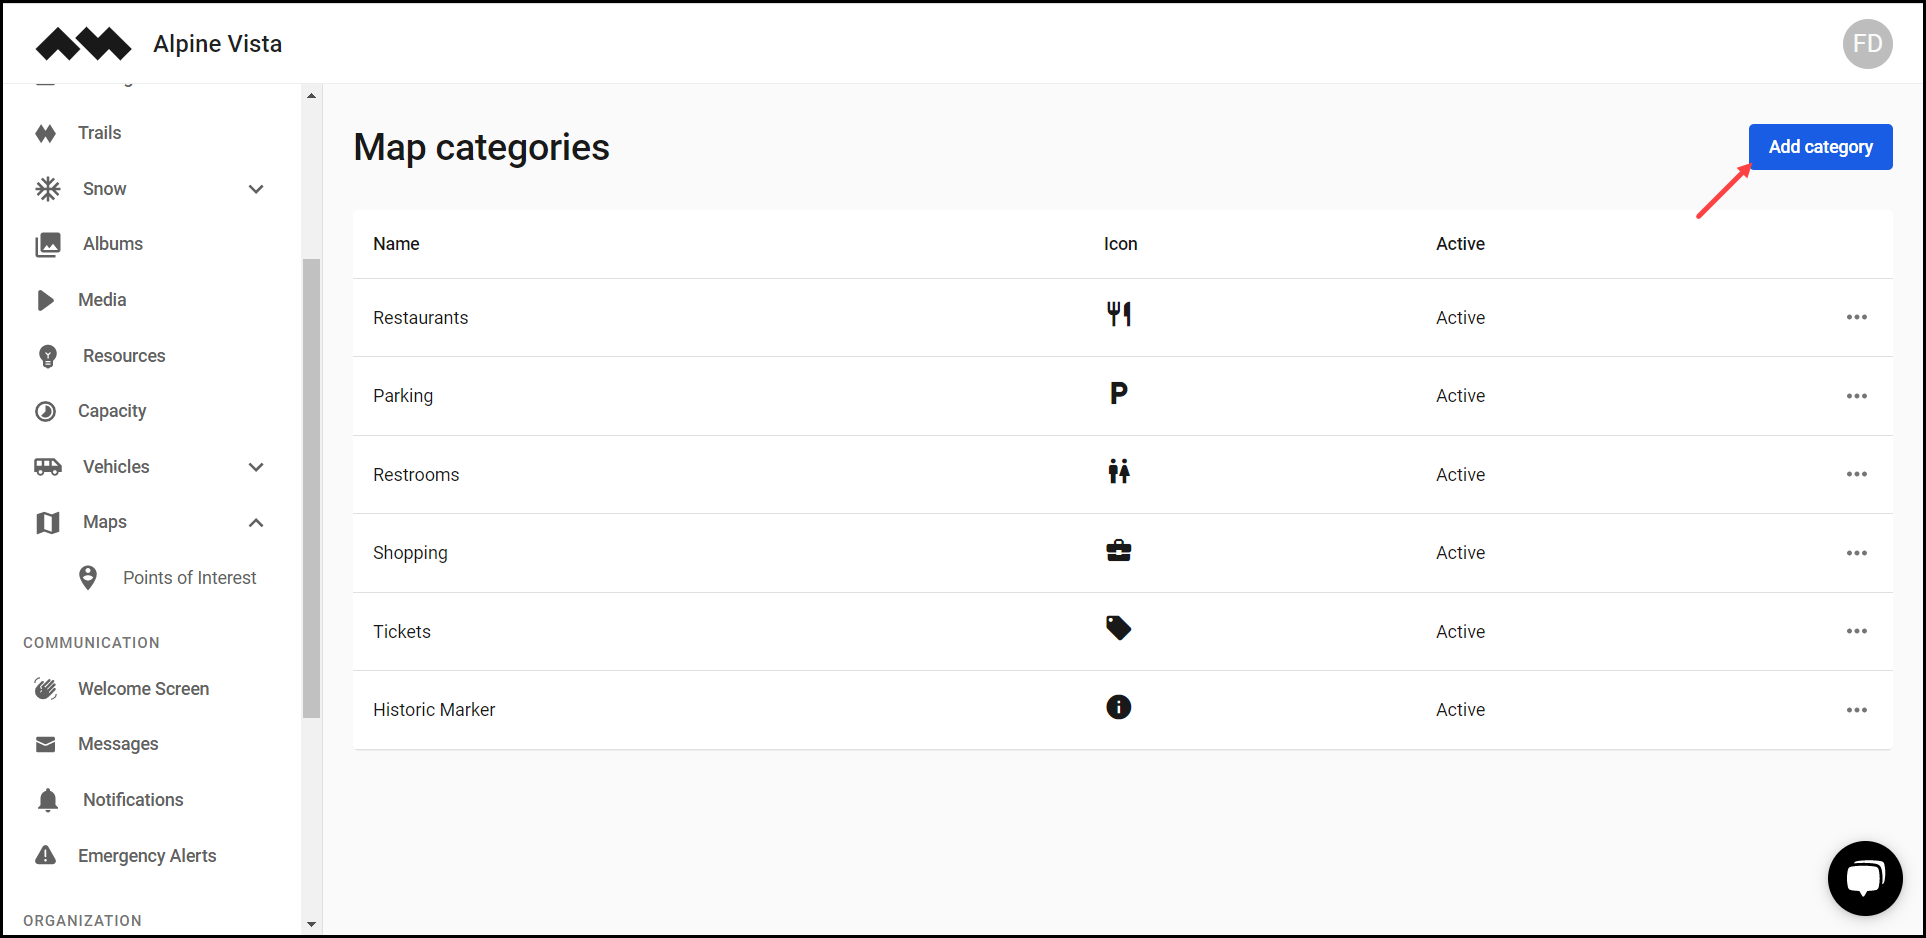
5. To add a category, click the Add category button. This takes you to the New Category screen.
6. Use the Name field to record the category name.

7. Select the icon you want to use for this category from the Icon dropdown.

8. In case the category is inactive, unmark the Active checkbox.

9. Once the required selections are made, click the Create button.
