How to Access Points of Interest?
Learn how to access points of interest
Transcript
Created:
May 21, 2023
Last updated:
May 21, 2023
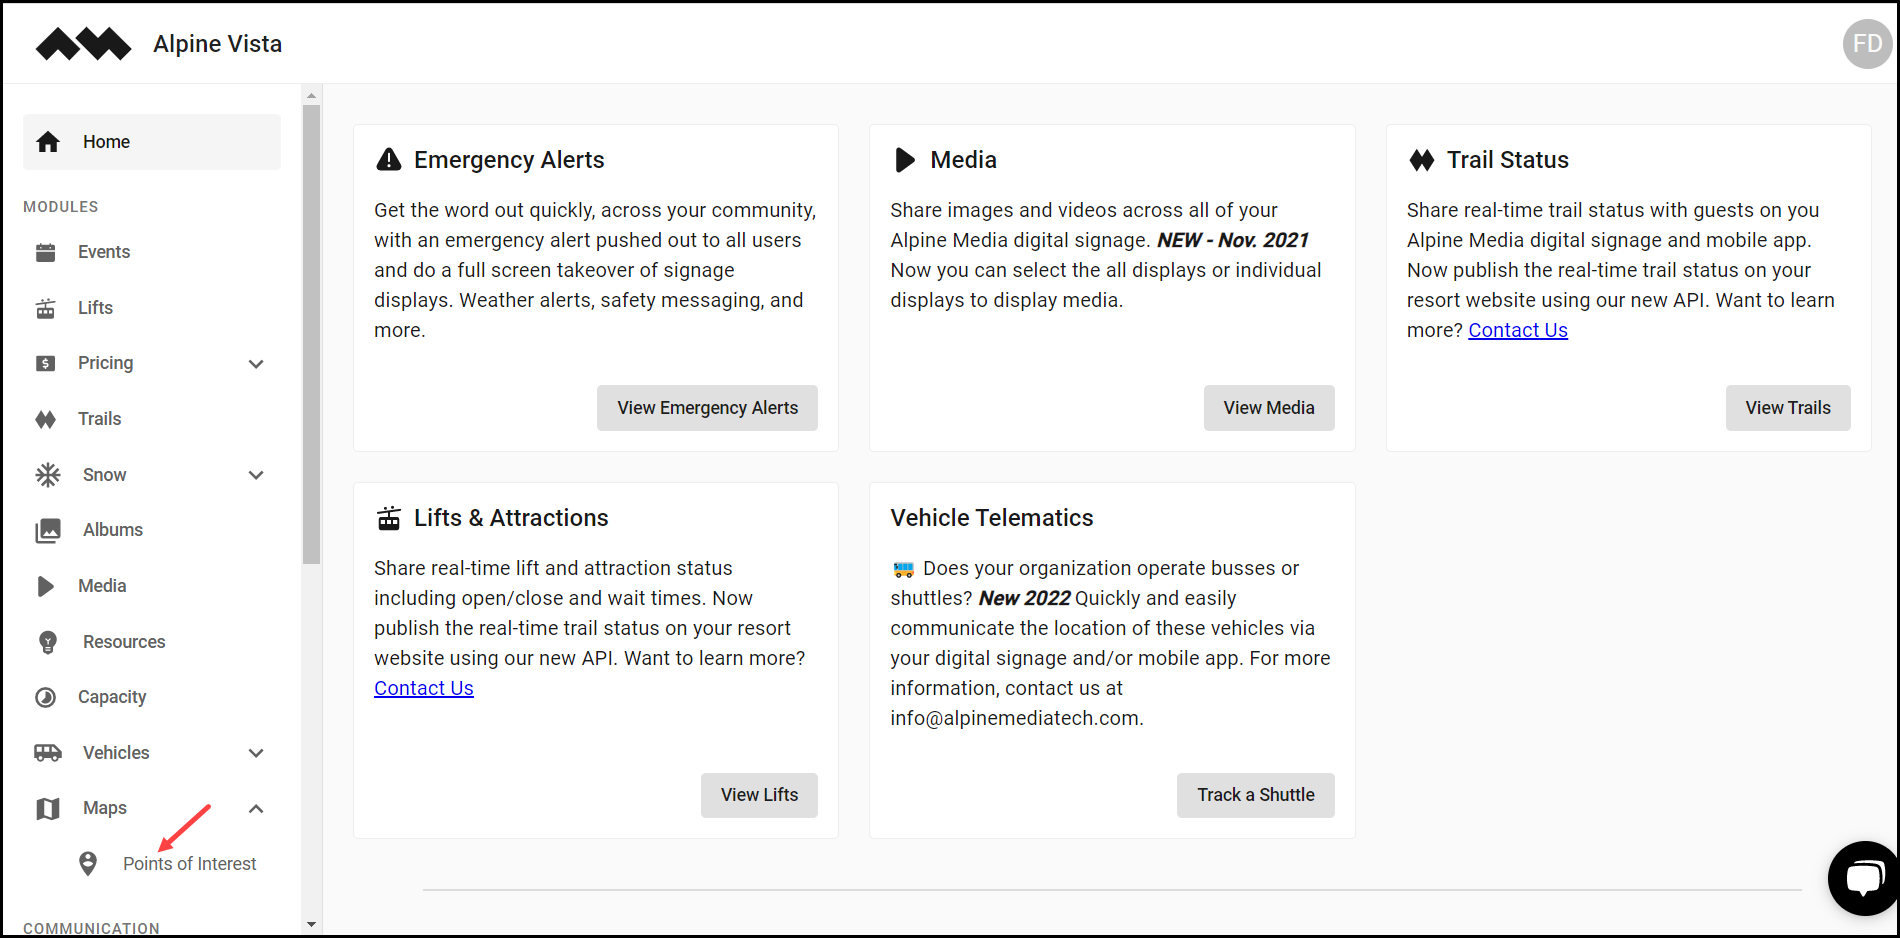
1. Upon successful login, navigate to the left navigation bar.
2. From the modules displayed, click Maps. Doing so reveals another option named Points of Interest.

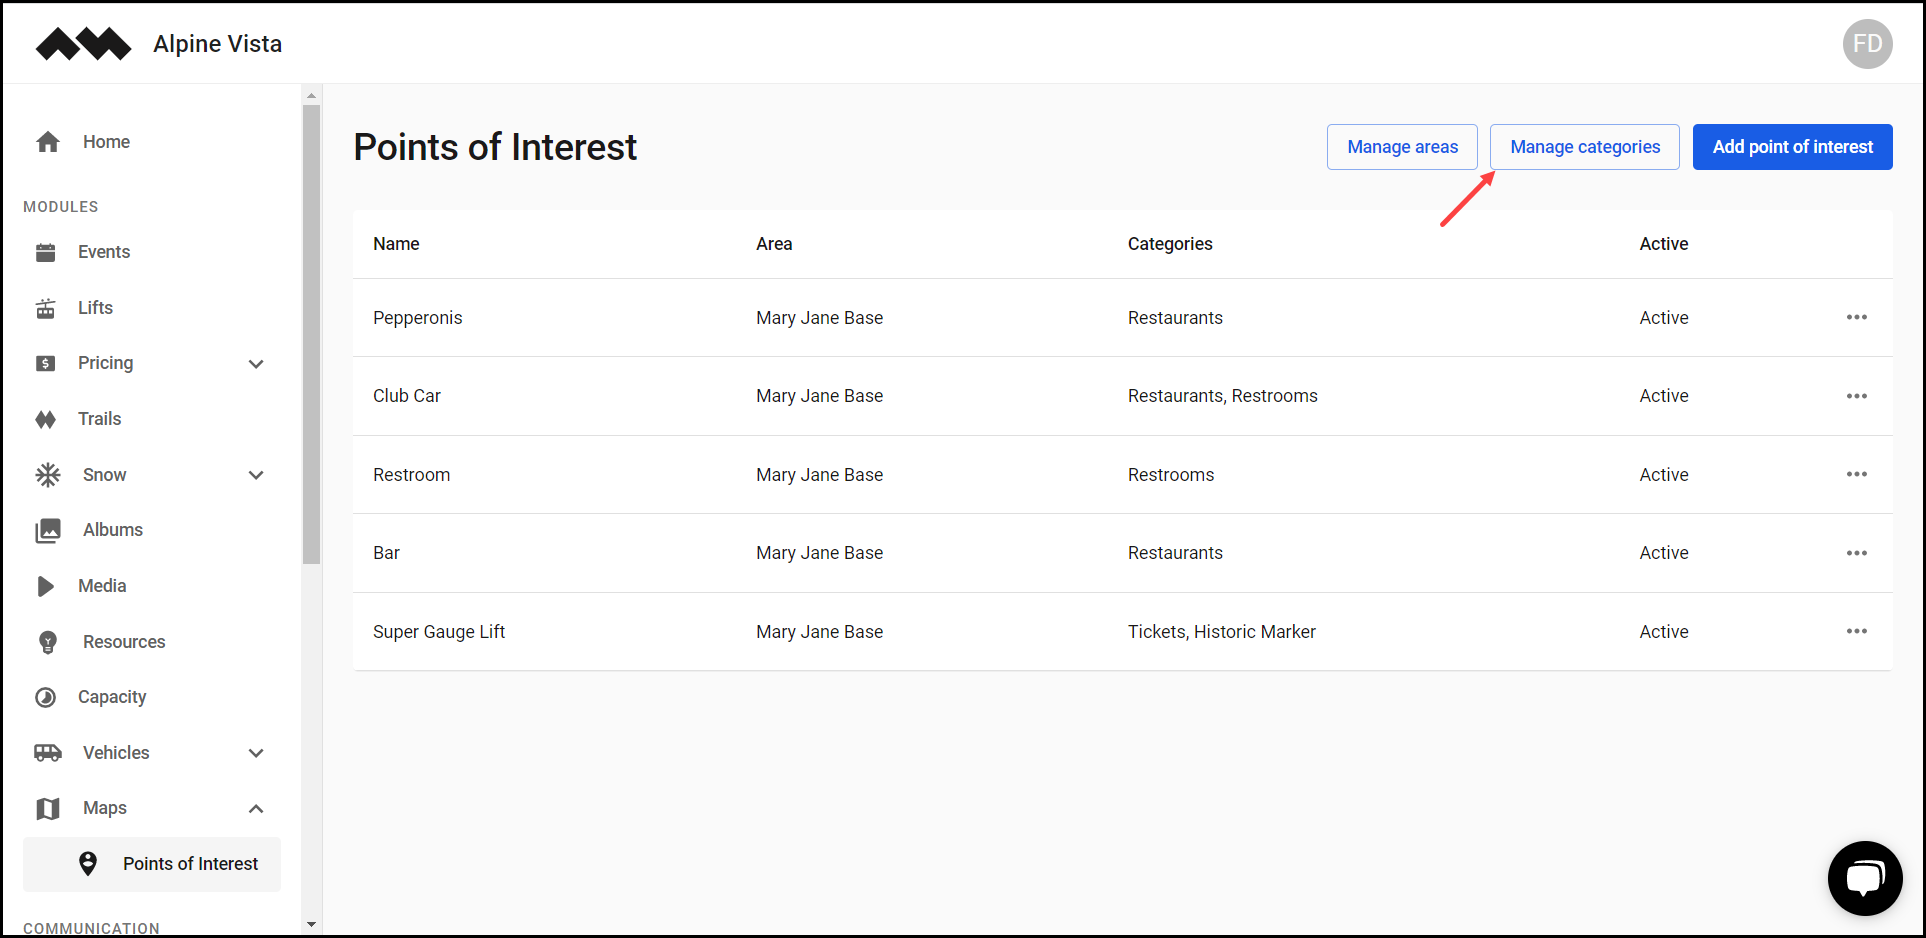
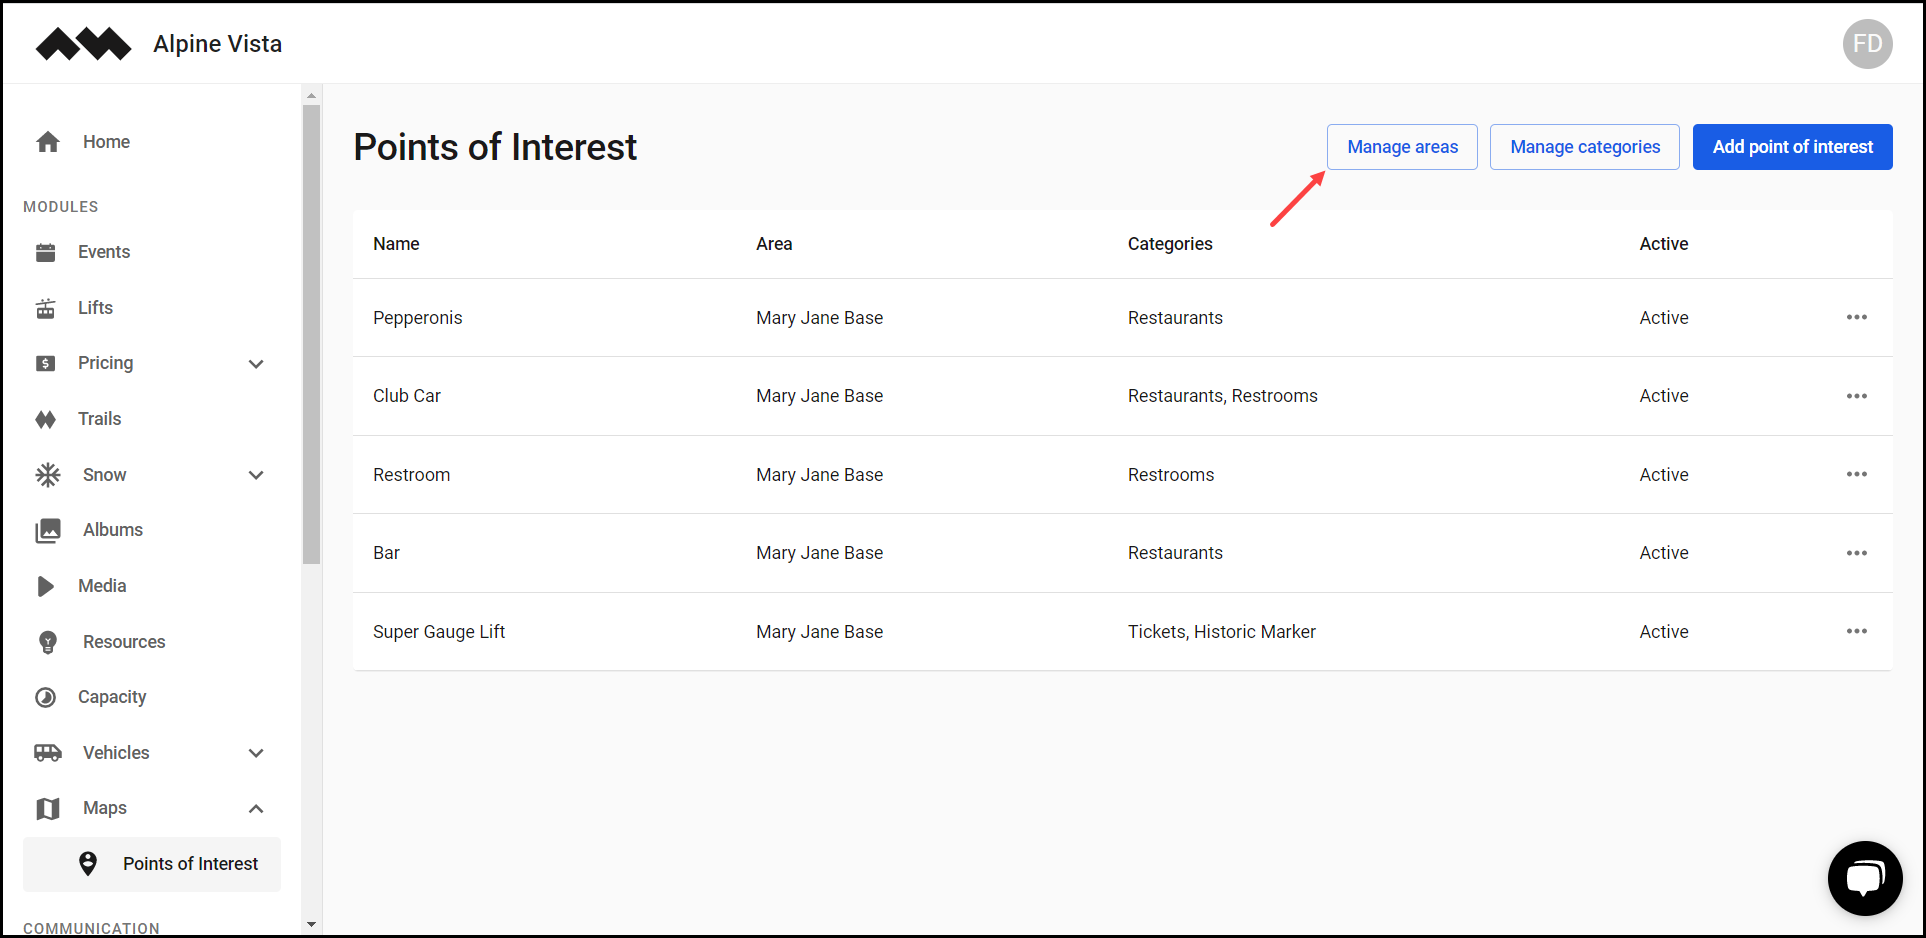
3. Click Points of Interest. This takes you to the Points of Interest screen.
4. Here, all the created points of interest are tabulated via a number of columns that include Name, Area, Categories, and Active.

5. Clicking the three-dot icon for a point of interest reveals a couple of options allowing you to edit or delete the specific point of interest.

6. To manage the areas displayed or add a new one, click the Manage Areas button.
7. Similarly, clicking Manage categories button allows you to manage or add a category.