How to Add Custom Pricing?
Learn how you can add custom pricing
[organization name] > Left Navigation Bar > Pricing > Custom
1. Follow the above-mentioned workflow to land on the Custom Pricing screen.
2. To create a custom pricing, click the Add Custom Pricing button. This opens the Pricing screen.

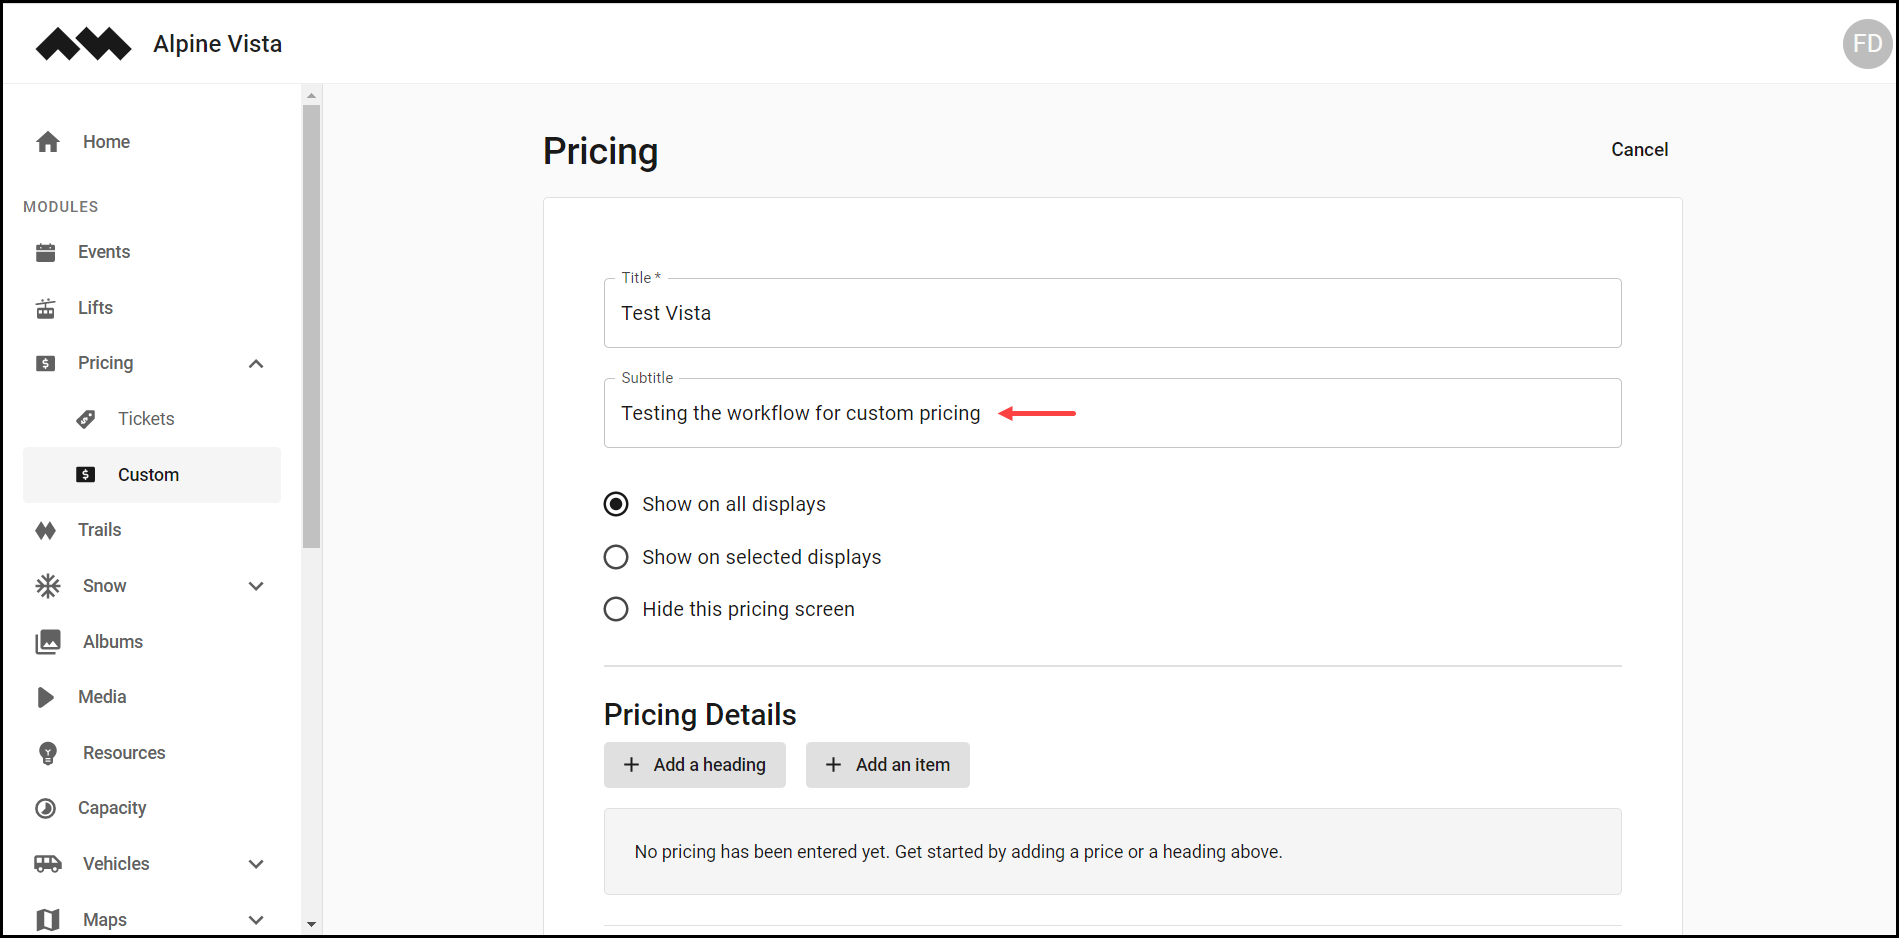
3. Use the Title field to record the title of the custom pricing record.
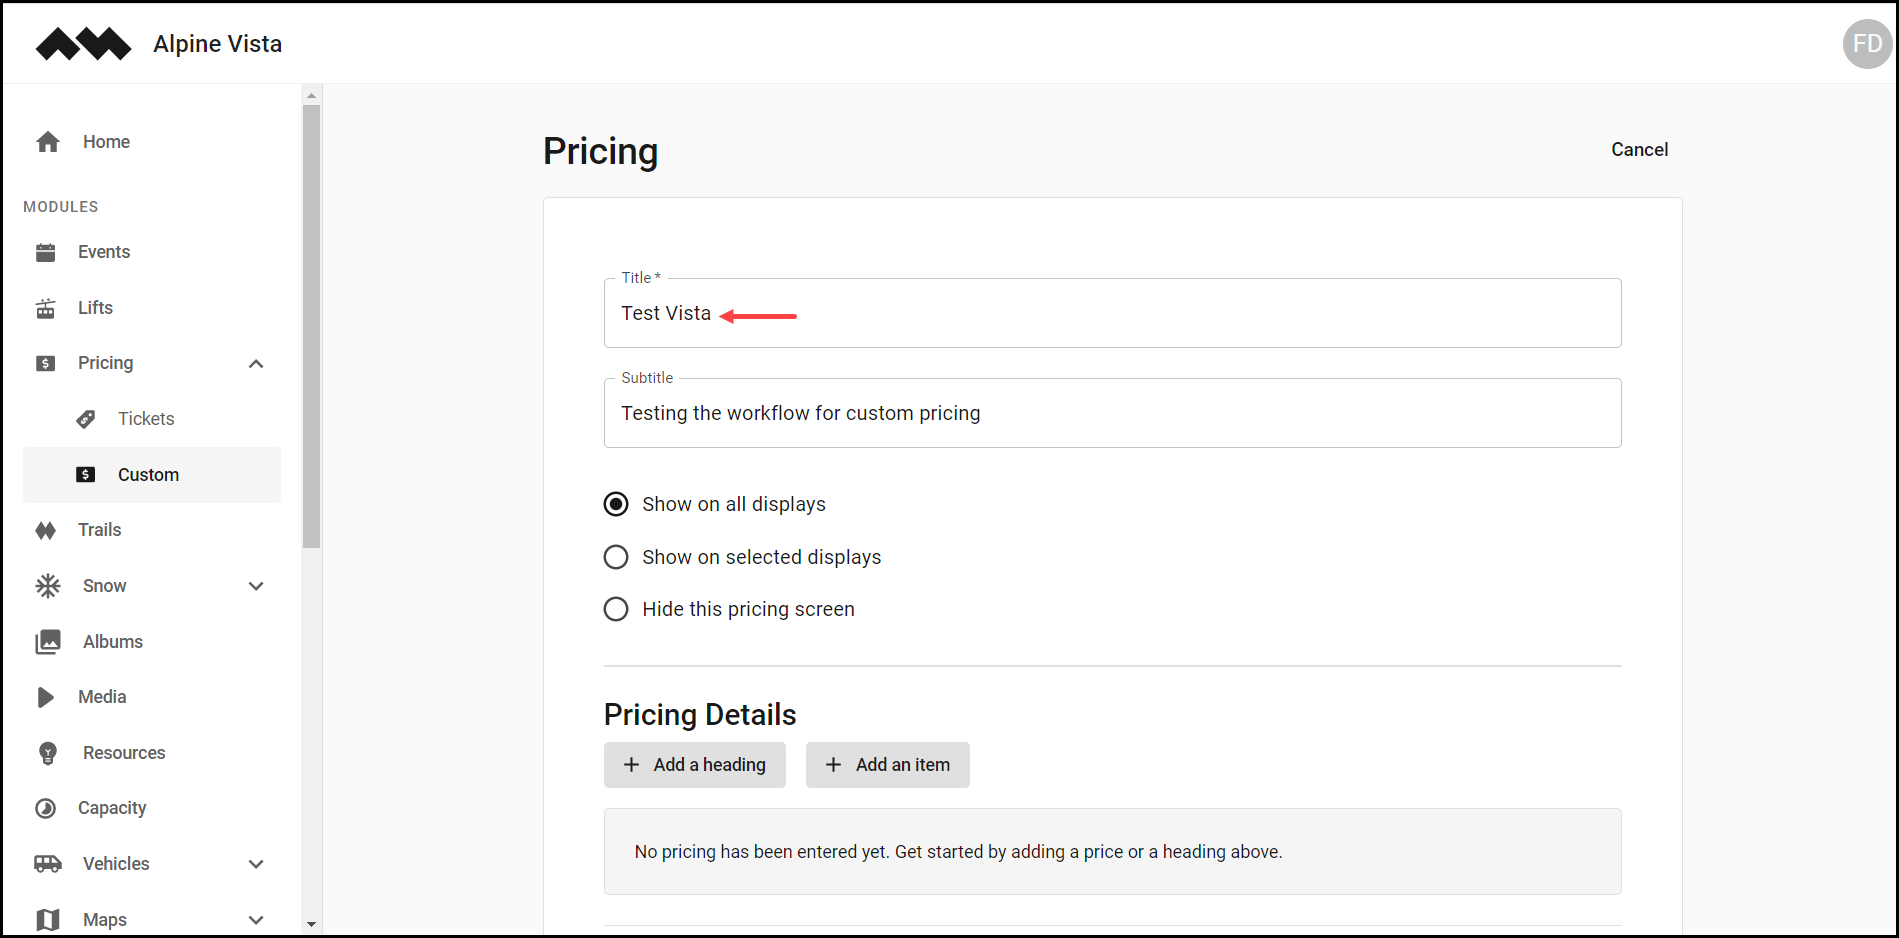
4. Enter the subtitle in the Subtitle field.
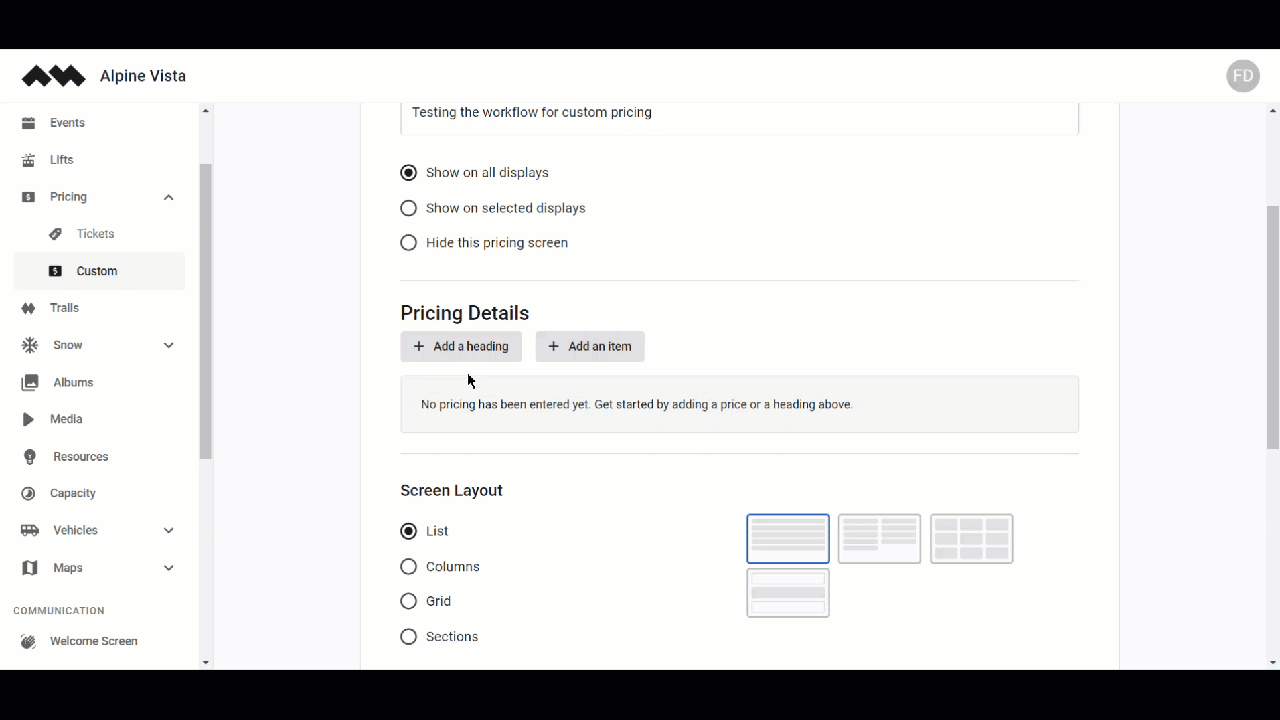
5. By default, the Show on all displays radio button is selected.

6. In case you want this pricing to appear on selected displays, click the Show on selected displays radio button. This reveals Select displays button that you can use to select the displays you want the pricing to appear on.
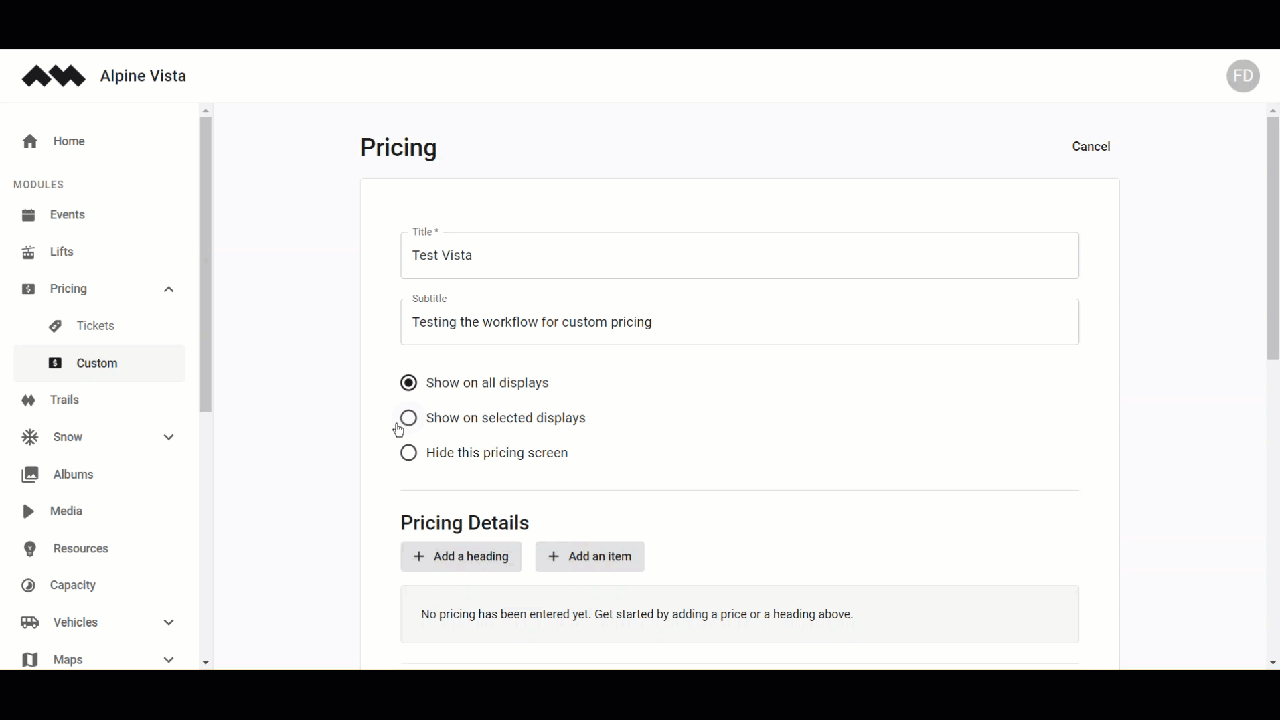
7. To hide this pricing, click the Hide this pricing screen radio button.

8. Moving further, the Pricing Details heading is displayed.
9. To add a heading, click the +Add a heading button displayed under this heading. Doing so reveals a Heading 1 title that you can edit as per your requirement by clicking the pencil icon. Moreover, you can click the trashcan icon to delete the heading.
10. An item is added to the custom pricing in a similar manner.
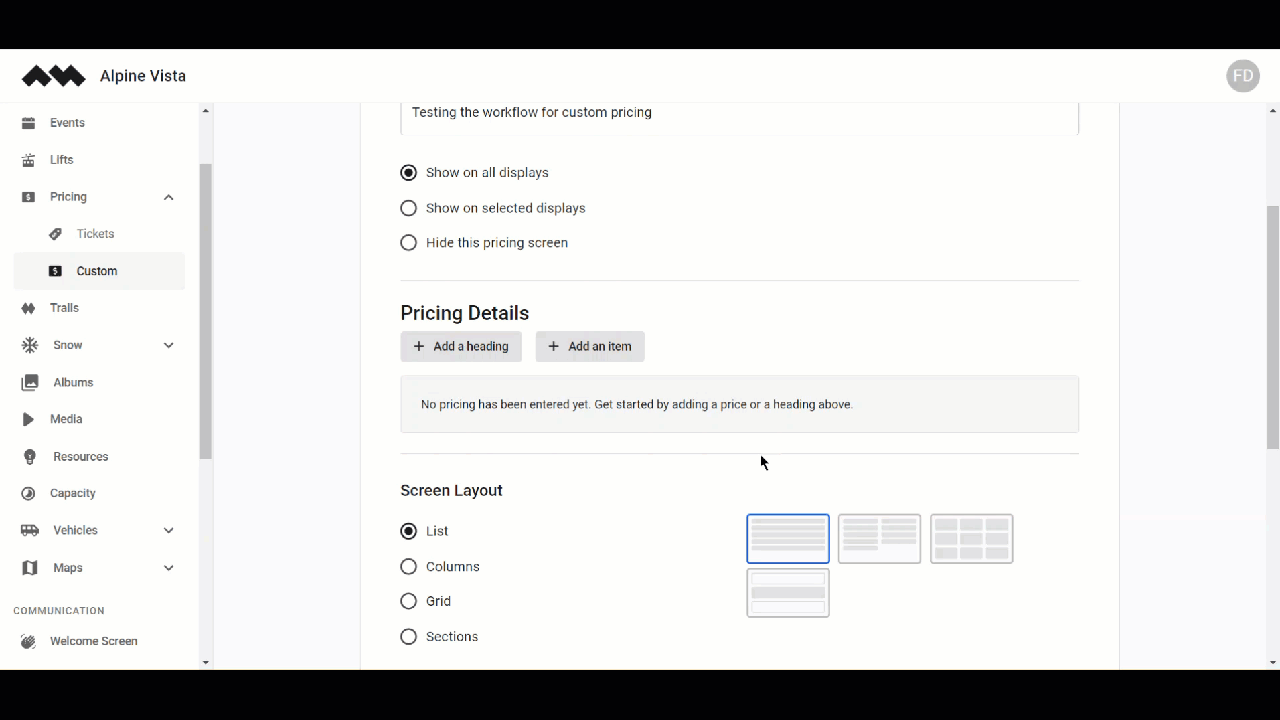
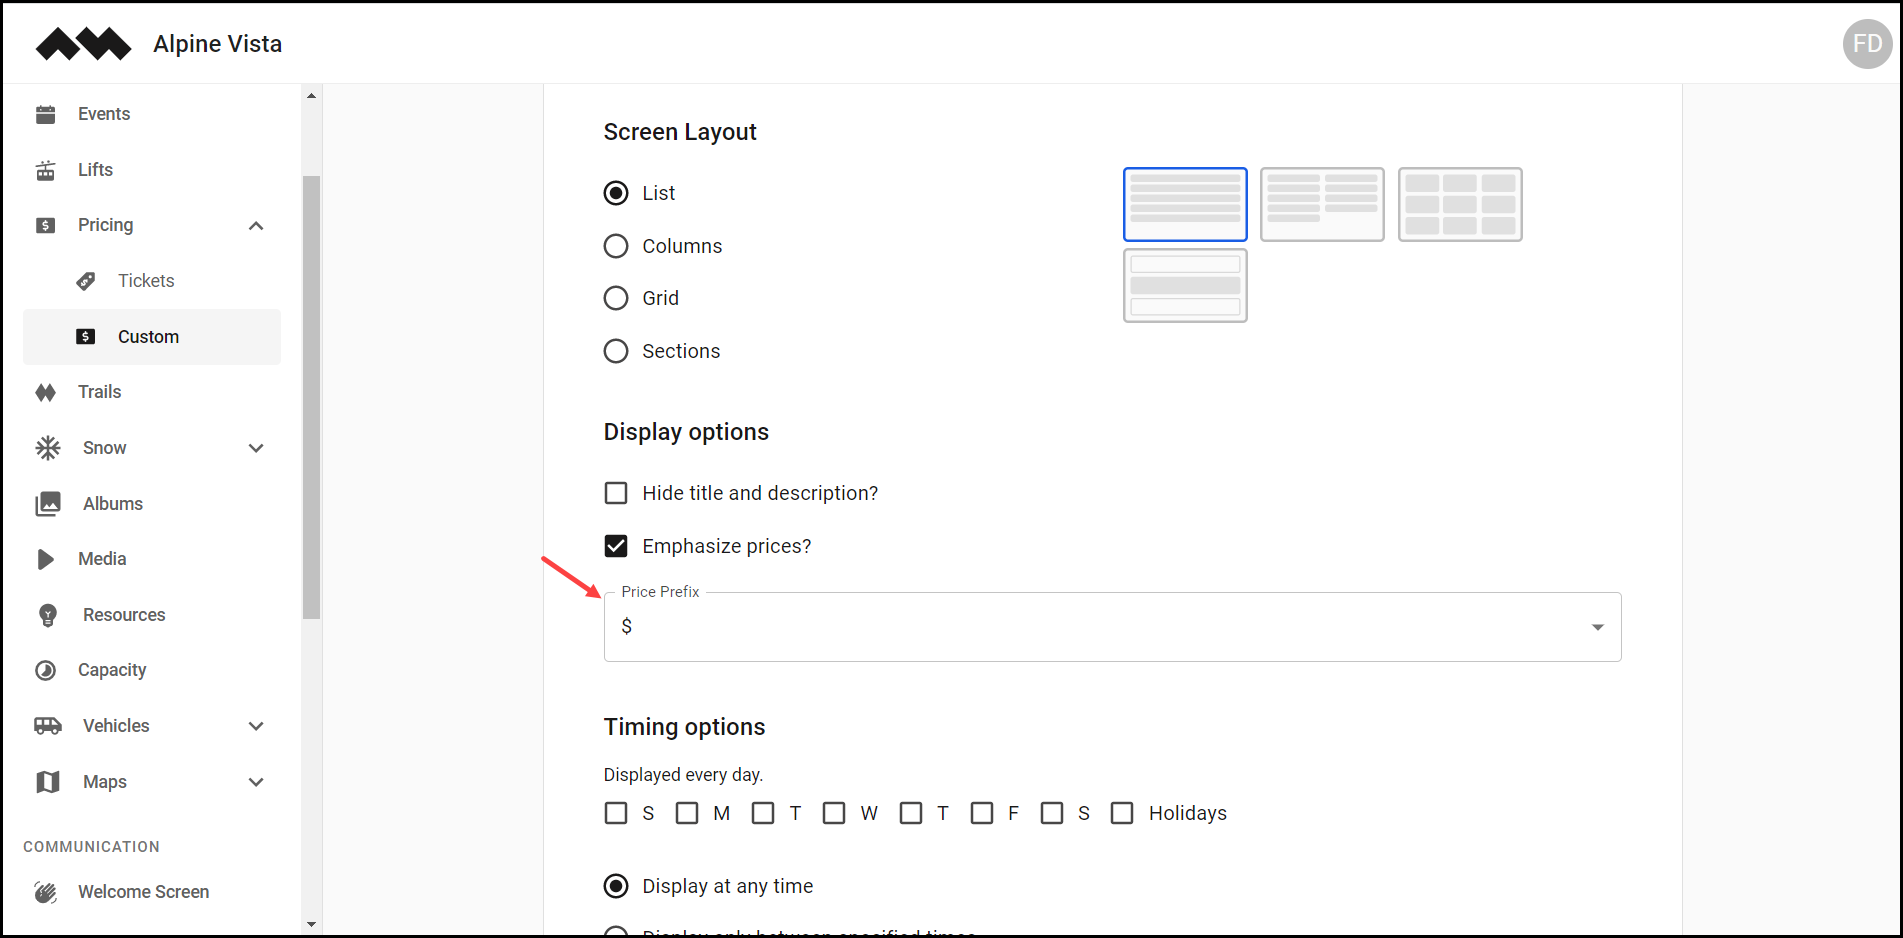
11. Scrolling down further is the Screen Layout heading. Here, you can make a selection from list, columns, grid, and sections radio buttons.
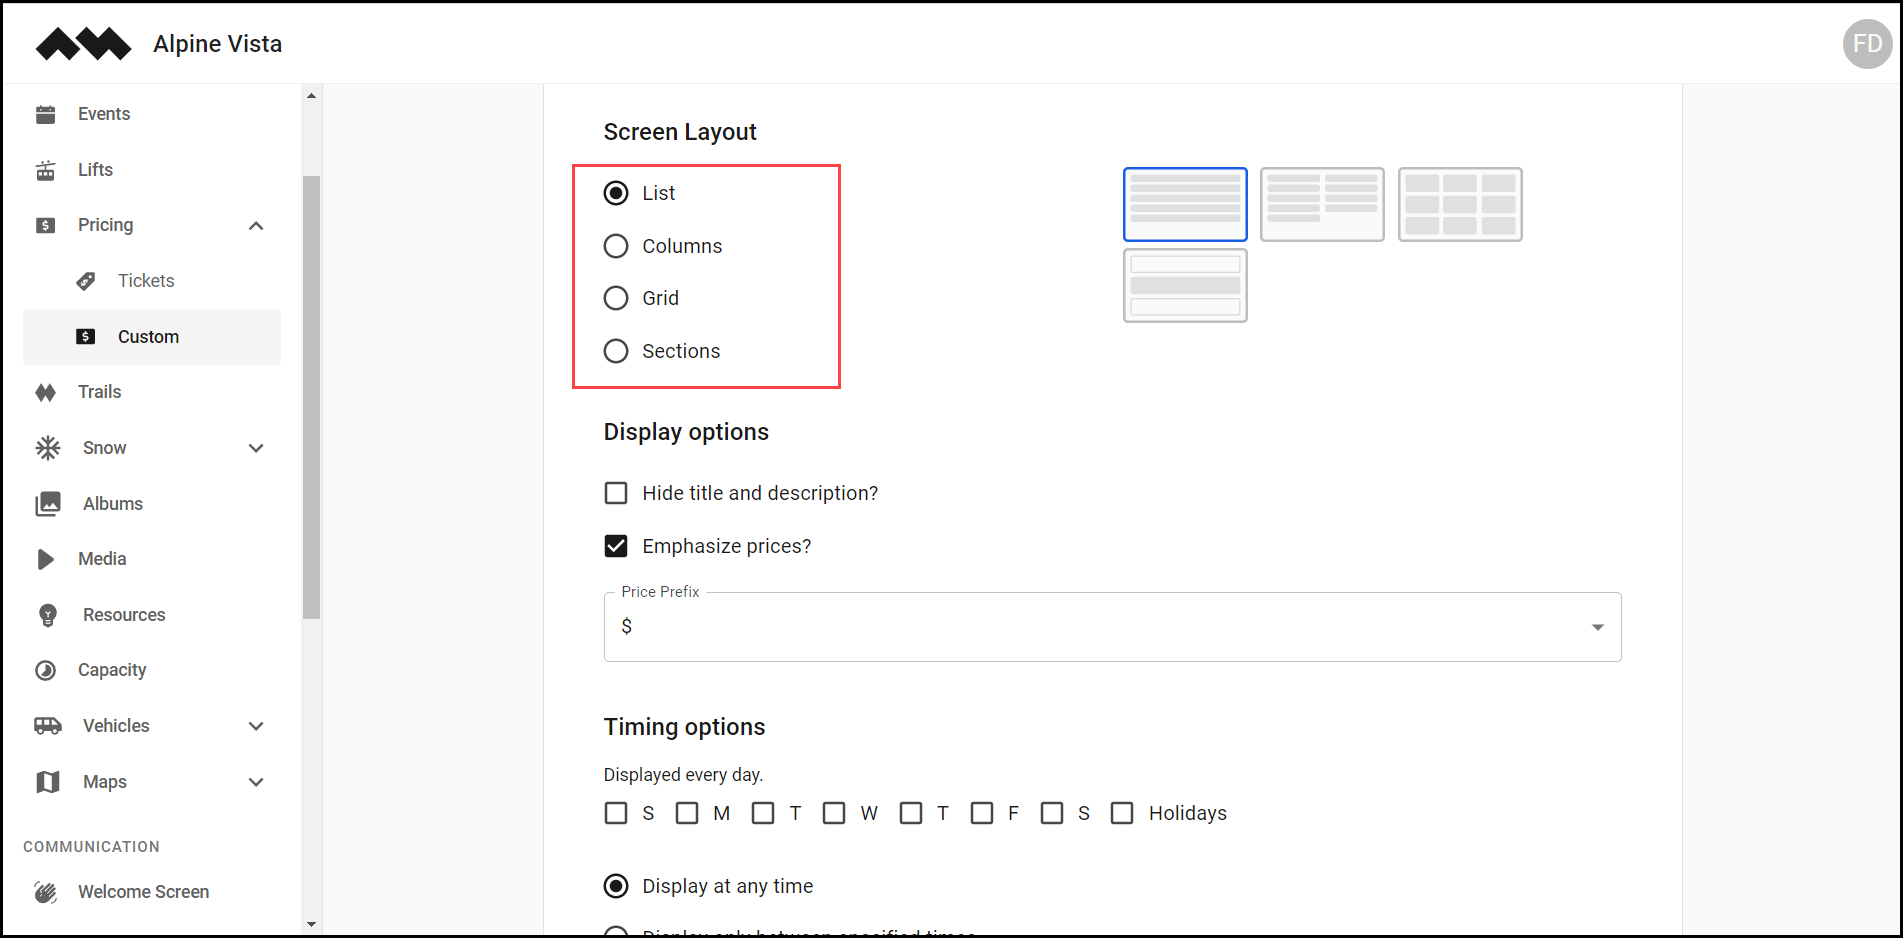
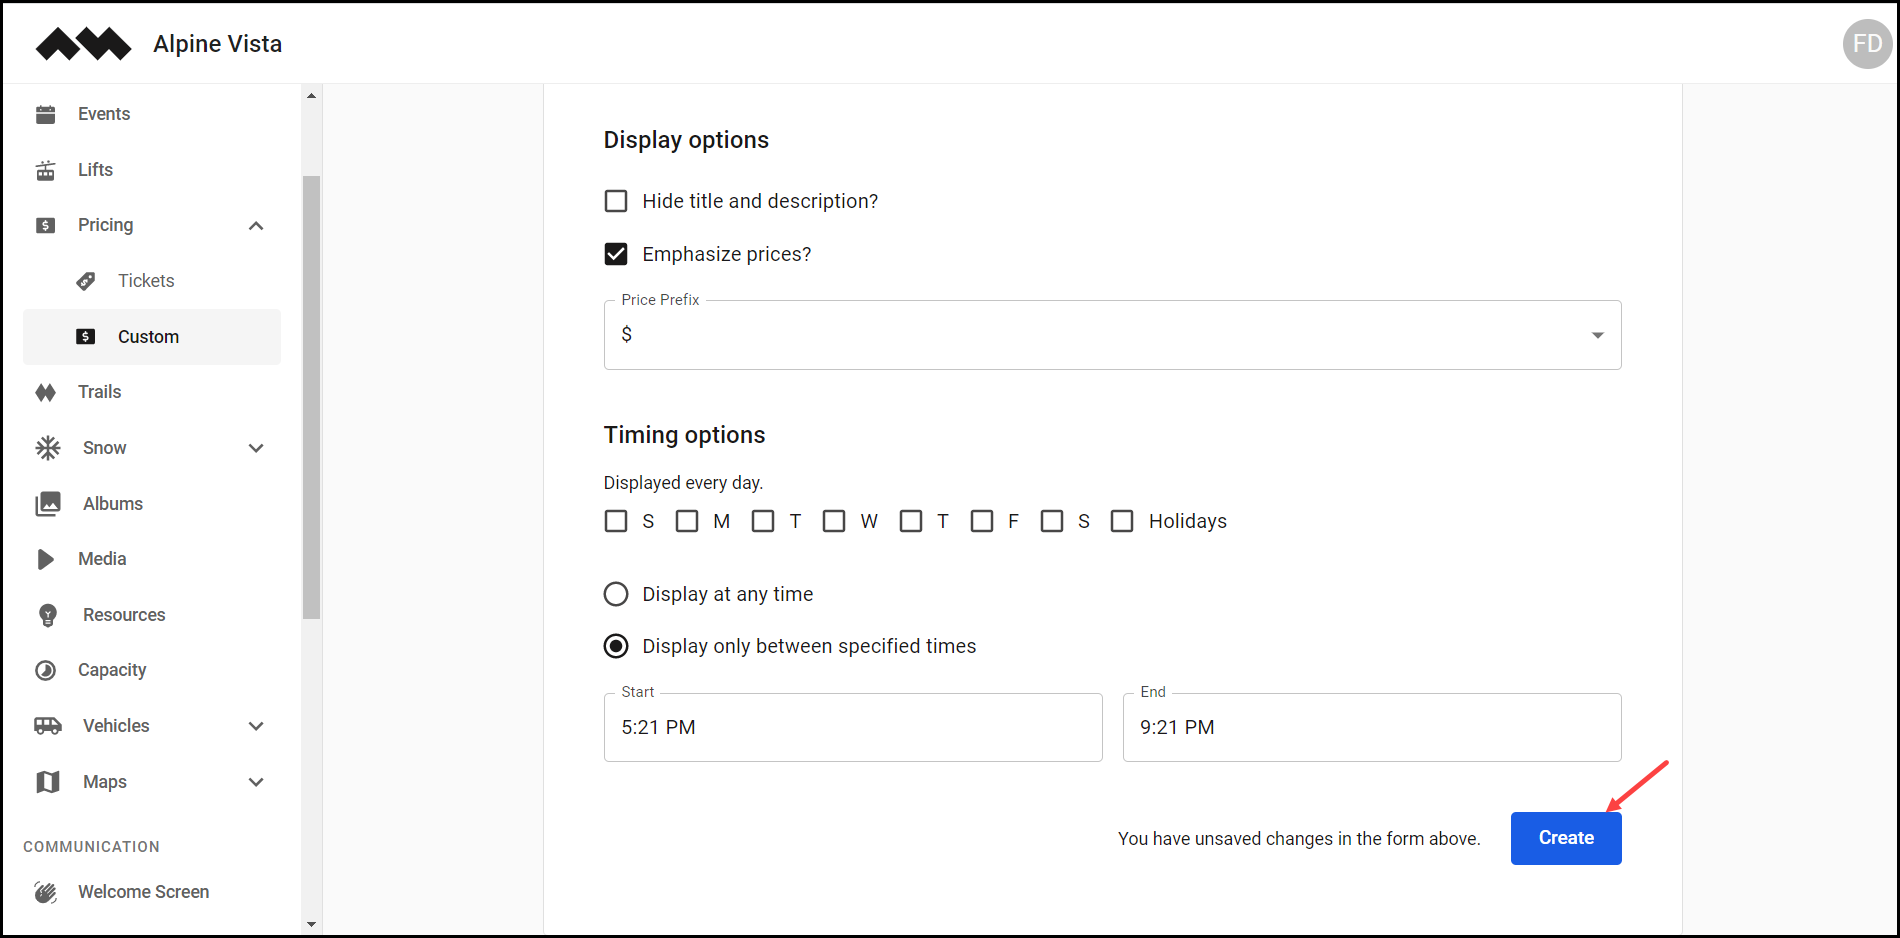
12. Moving to the Display Options heading, mark the Hide title and description checkbox incase you want the title and description to be hidden on the display.

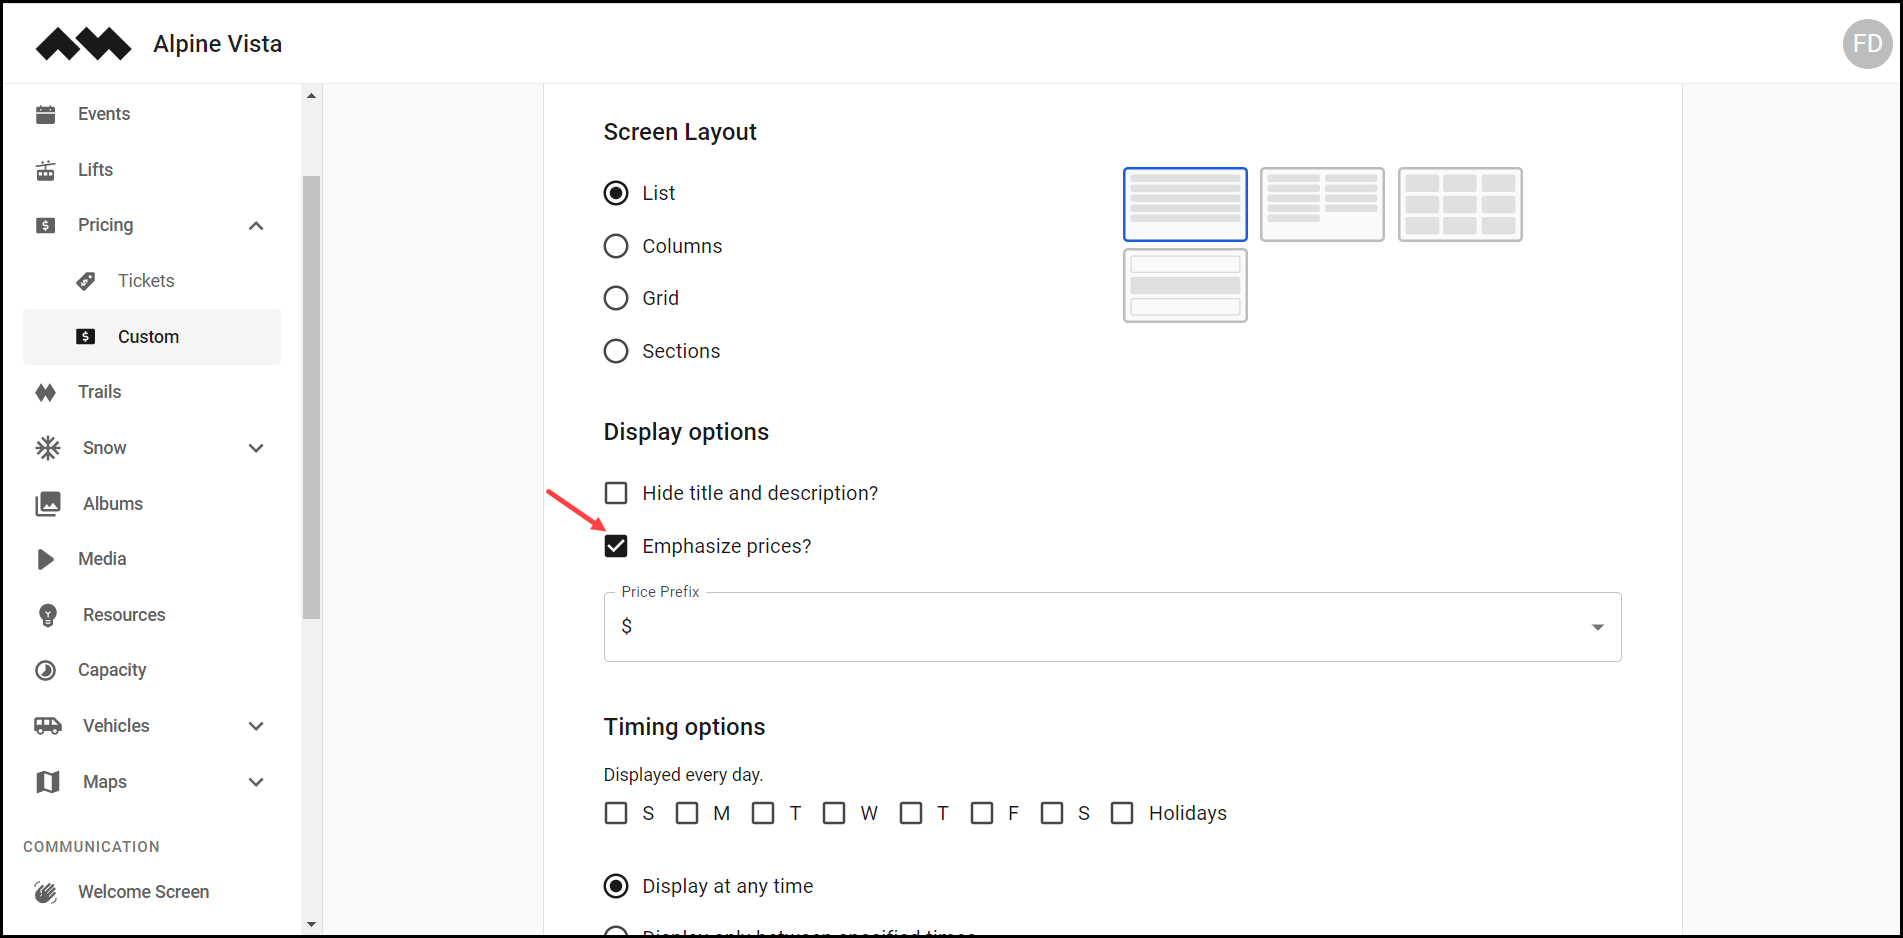
13. In case you do not want the prices emphasized, unmark the Emphasize prices? Checkbox.
14. Use the Price Prefix dropdown to choose the prefix you want to be displayed.
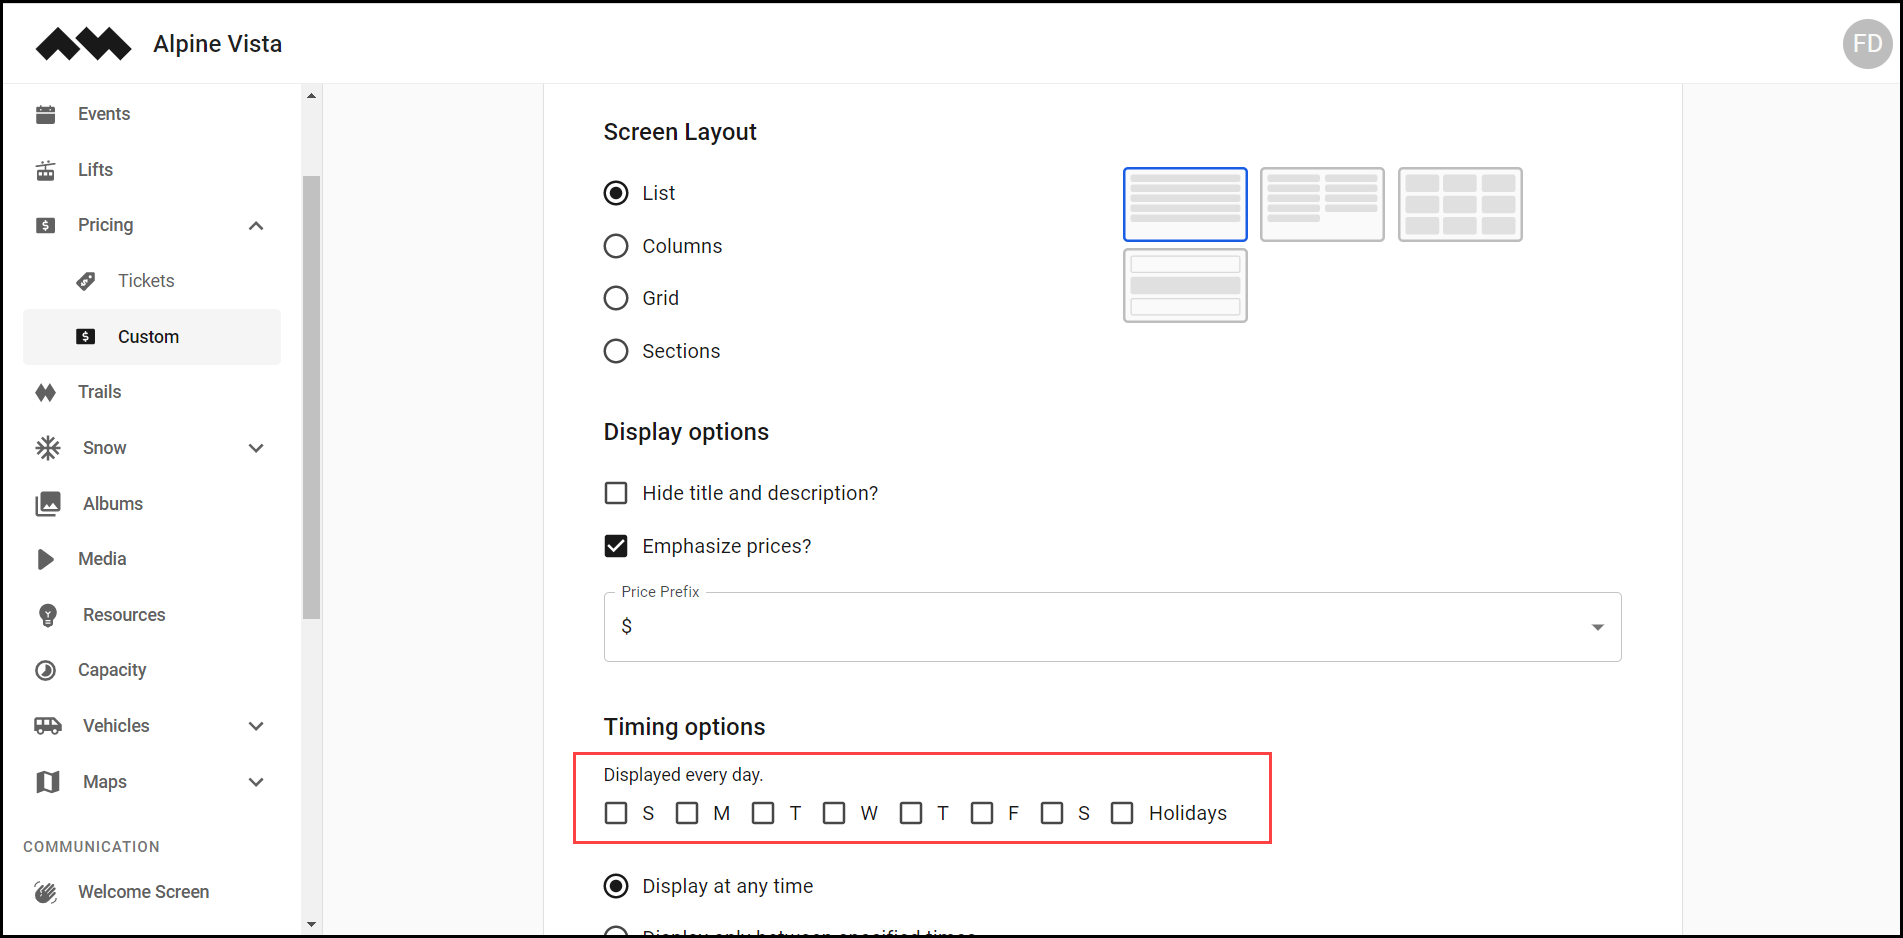
15. Moving on to the Timing options heading, mark the checkbox(s) for the days on which you want the price to be displayed. In case no selection is made, pricing is displayed every day.
16. By default, Display at any time option is selected. In case you want the pricing to be displayed on a specific time, choose the Display only between specified times radio button. Doing so reveals the Start and End time selectors allowing you to define the duration in which the pricing is displayed.
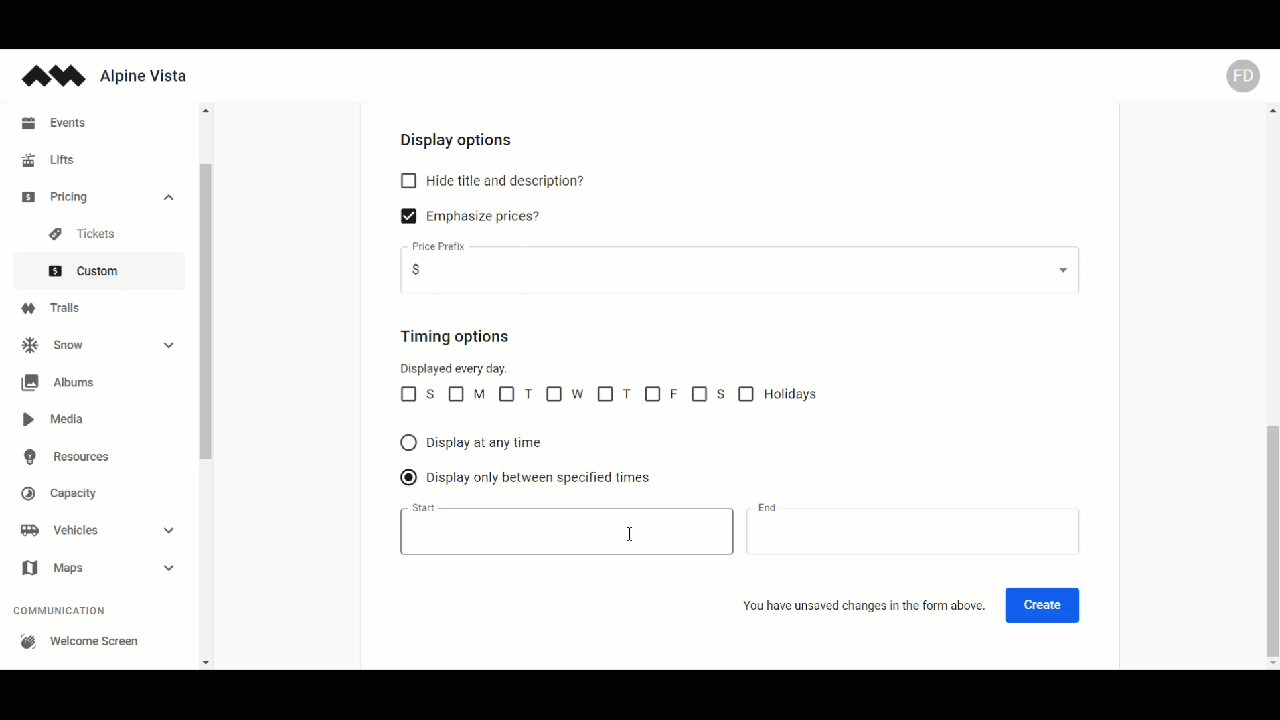
17. Once the required information is filled in, click the Create button.