How to Add an Event?
Learn how you can create an event
[organization name] > Left Navigation Bar > Events
1. Follow the above-mentioned workflow to land on the Events screen.
2. To create an event, click the Add Event button. This opens the New Event screen.

3. In case you want it to be a featured event, enable the Featured Event toggle button.

4. Enter the title of the event in the Title field.
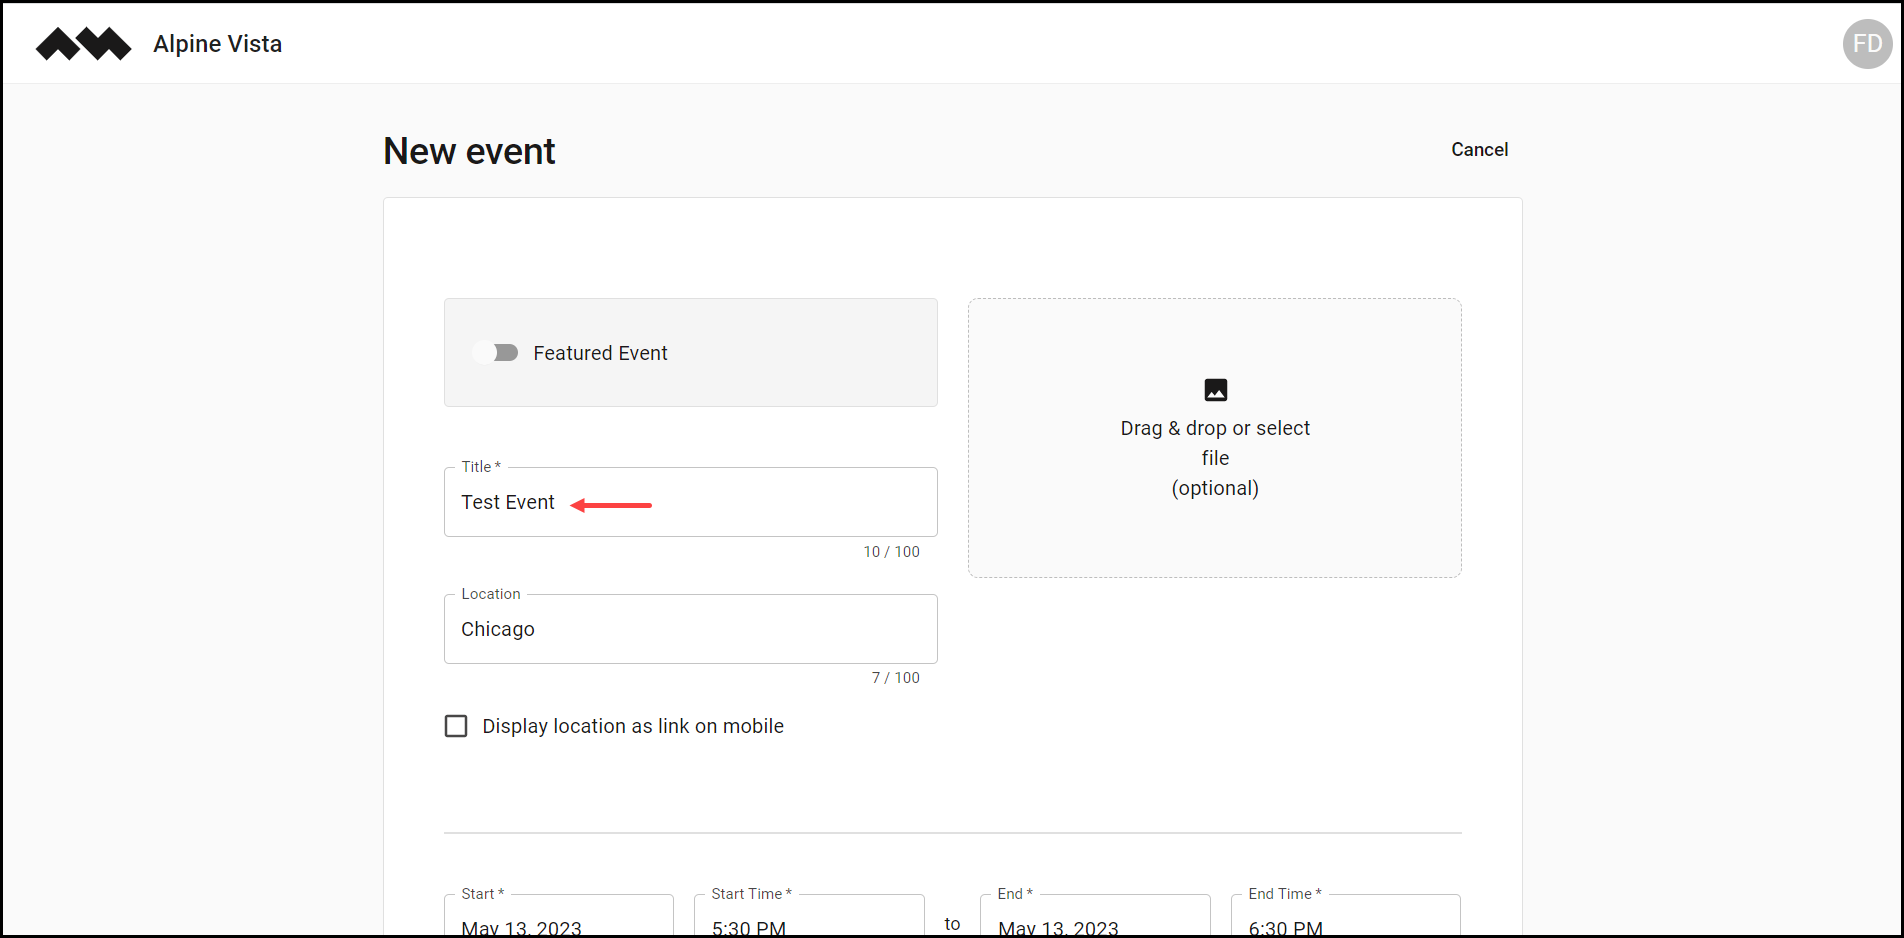
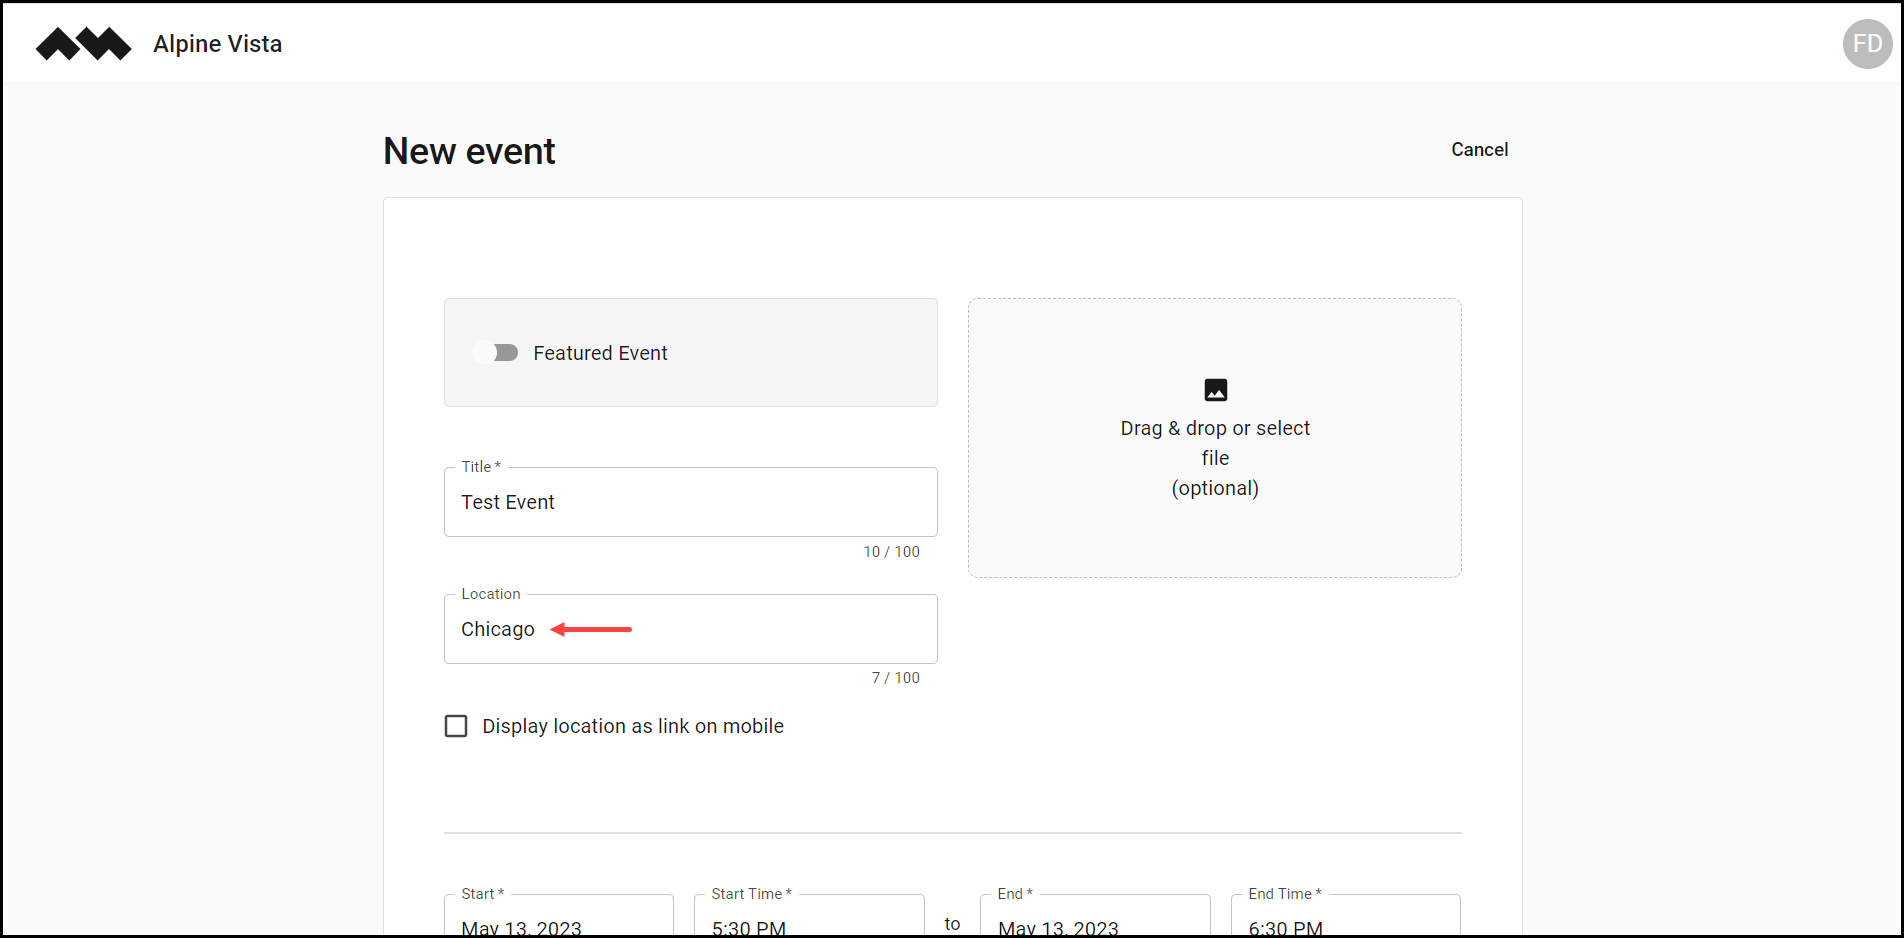
5. Use the Location field to enter the location name for which you want to create the event.
6. If you want the location to be displayed as a link on mobile, mark the Display location as link on mobile checkbox.

7. Drag and drop or select a file from your system storage to attach to this event by clicking the Drag & drop or select file button.

8. Scrolling down further, use the Start date selector to select the date on which the event starts and use the Start Time selector to choose the time at which the event starts.

9. Similarly, use the End and End Time date and time selectors to define the date and time for the end of the event.
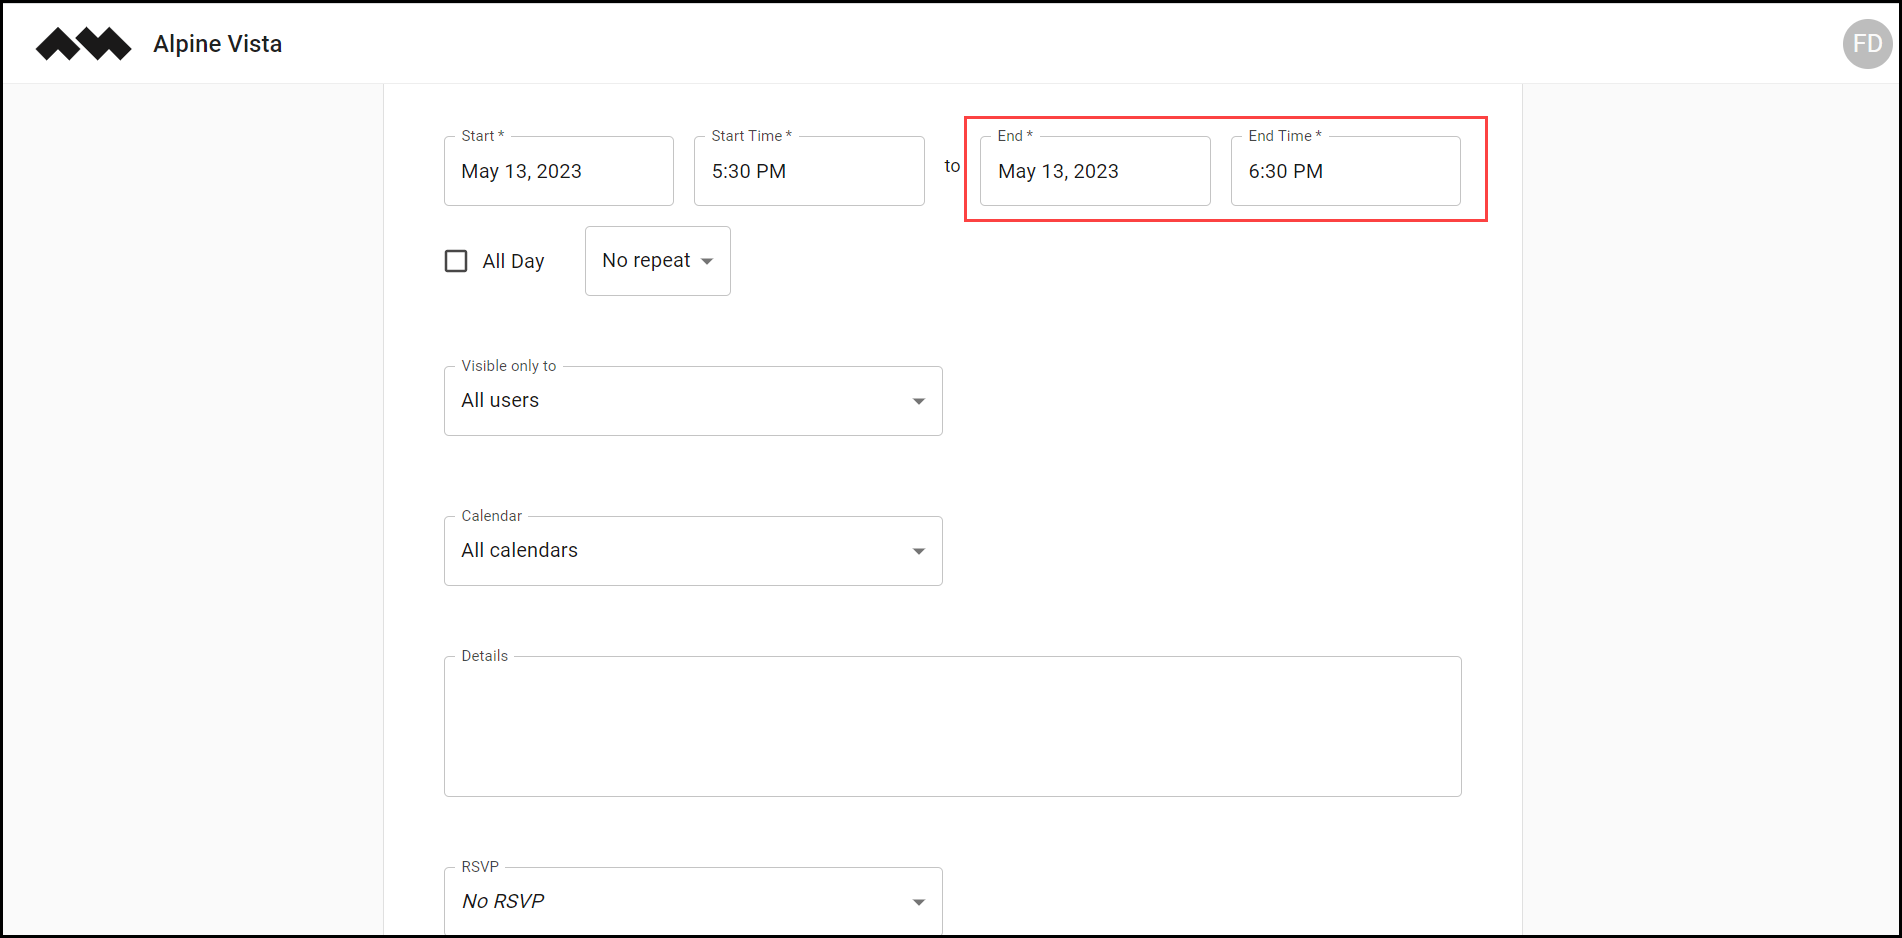
10. If the event is going to continue for the whole day, mark the All Day checkbox.

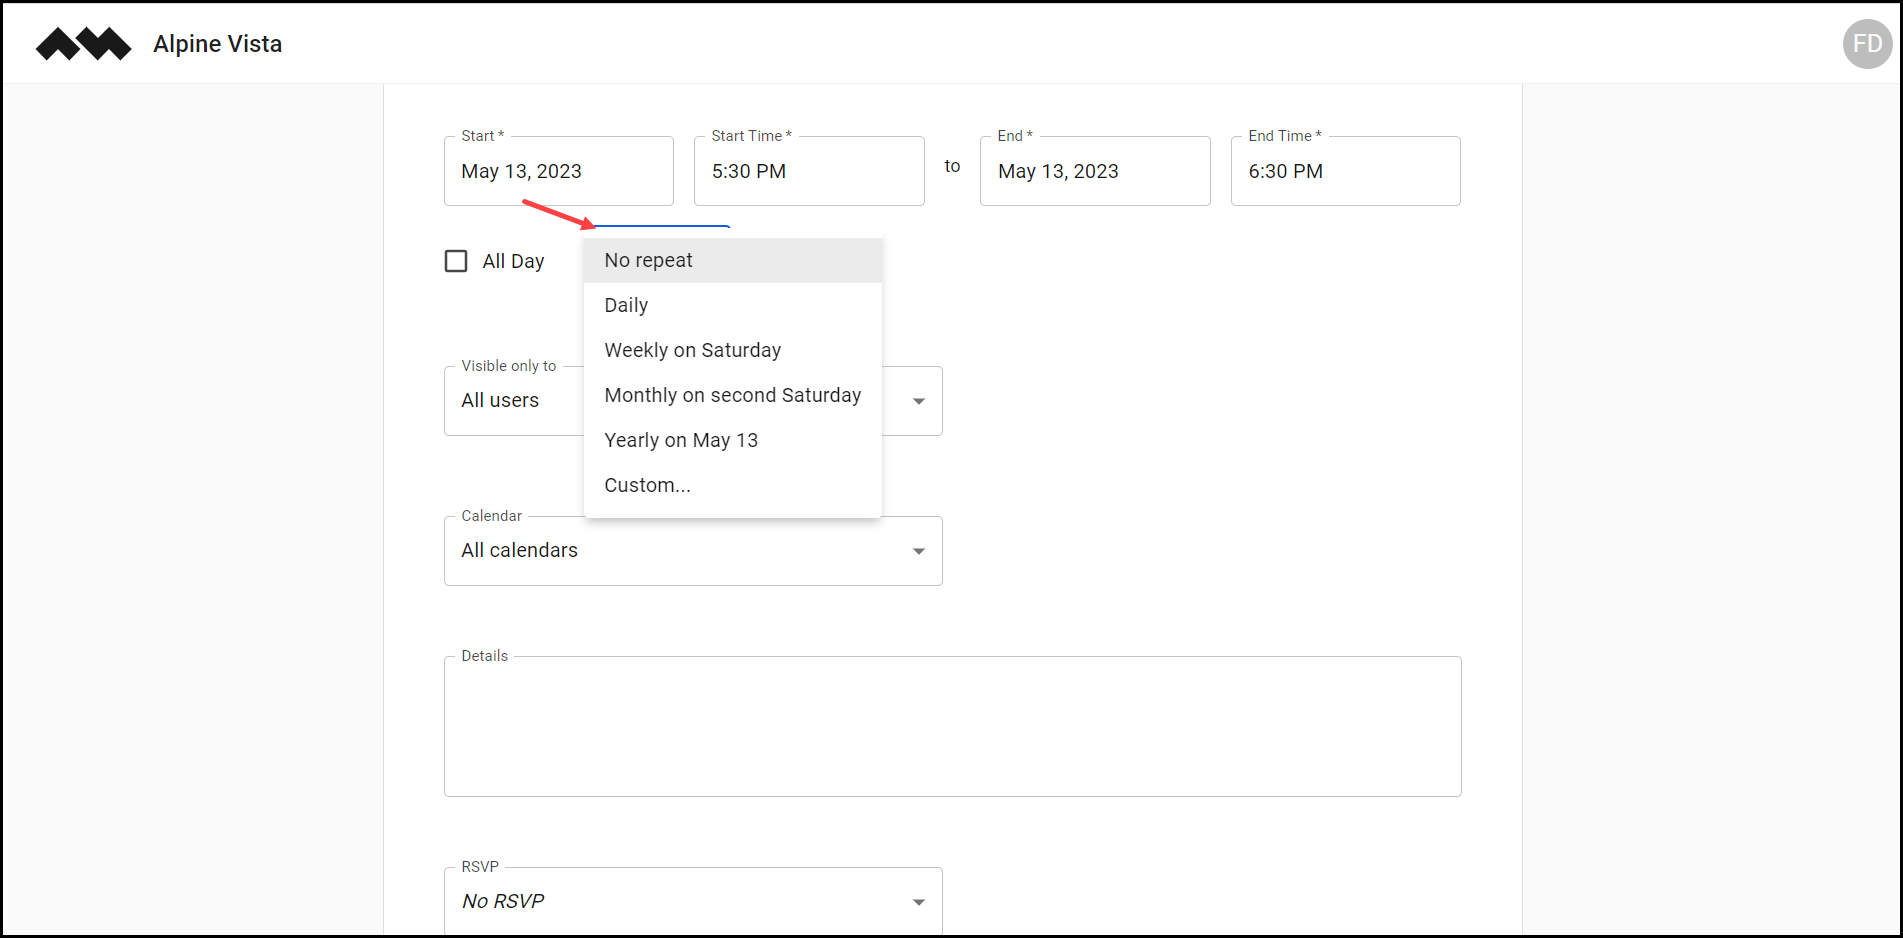
11. Use the No Repeat dropdown to define the repeat frequency of the event.
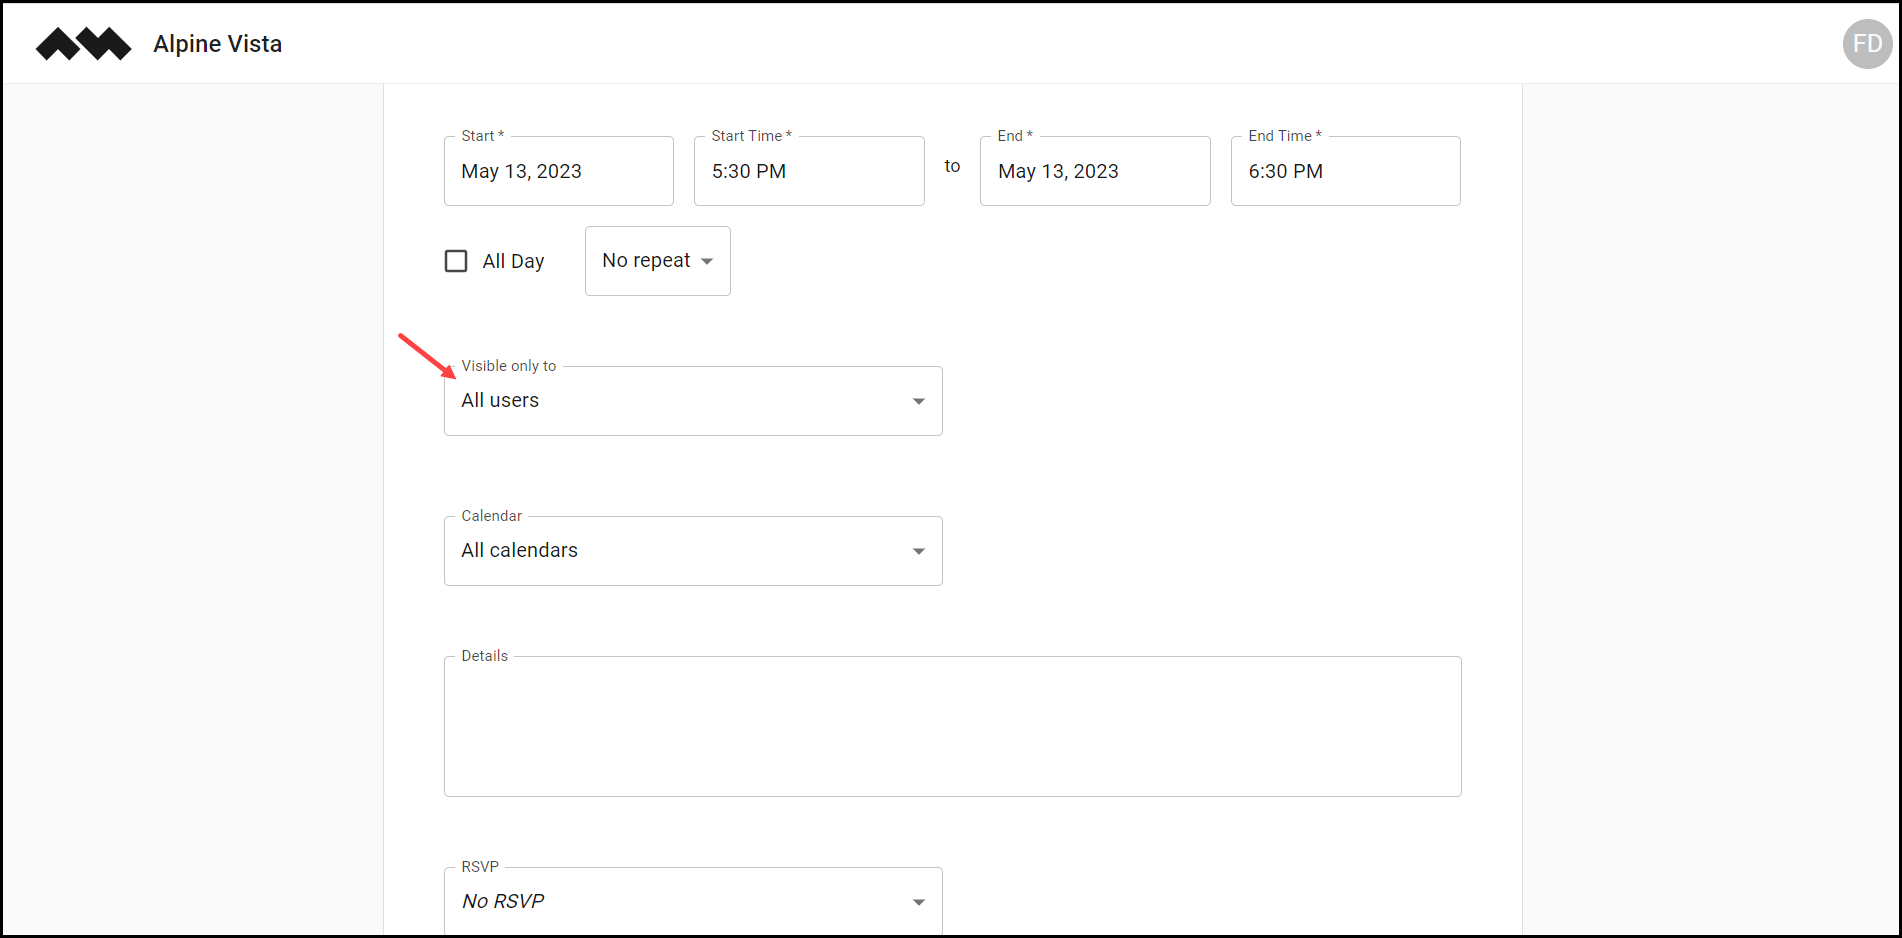
12. Use the Visible only to dropdown to select which users the event you are creating is visible to.
13. Use the Calendar dropdown to select the calendar you want this event to be associated to.

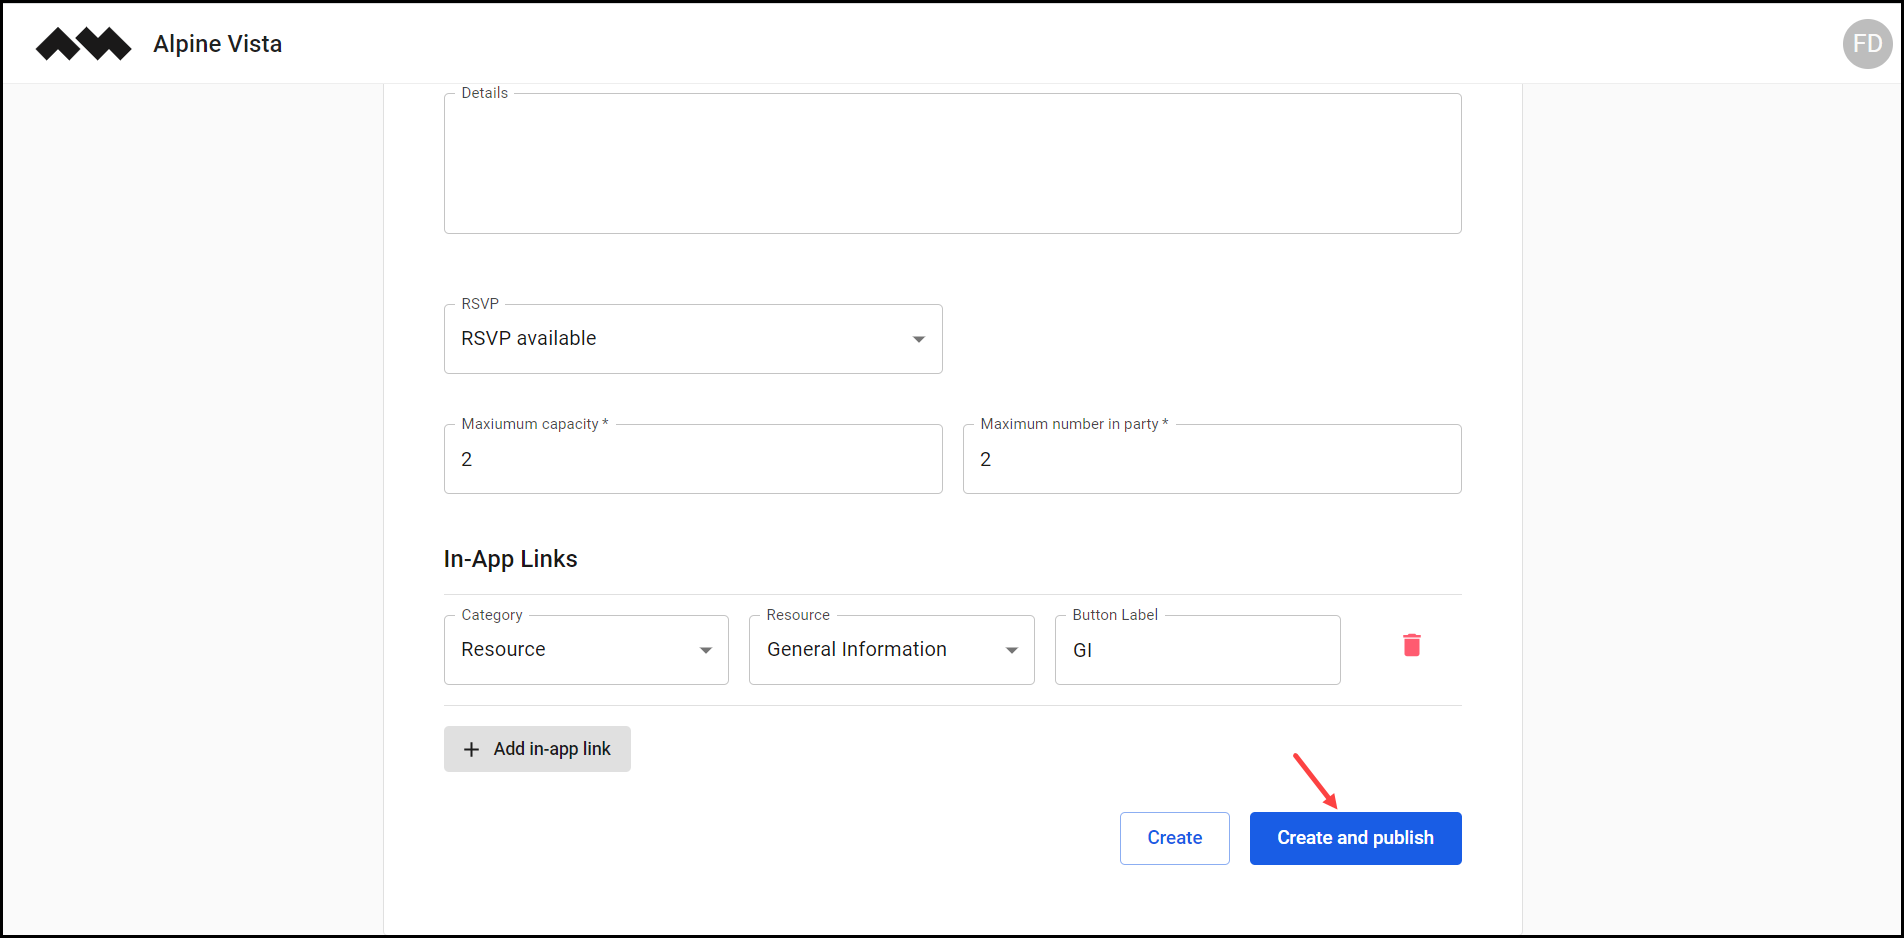
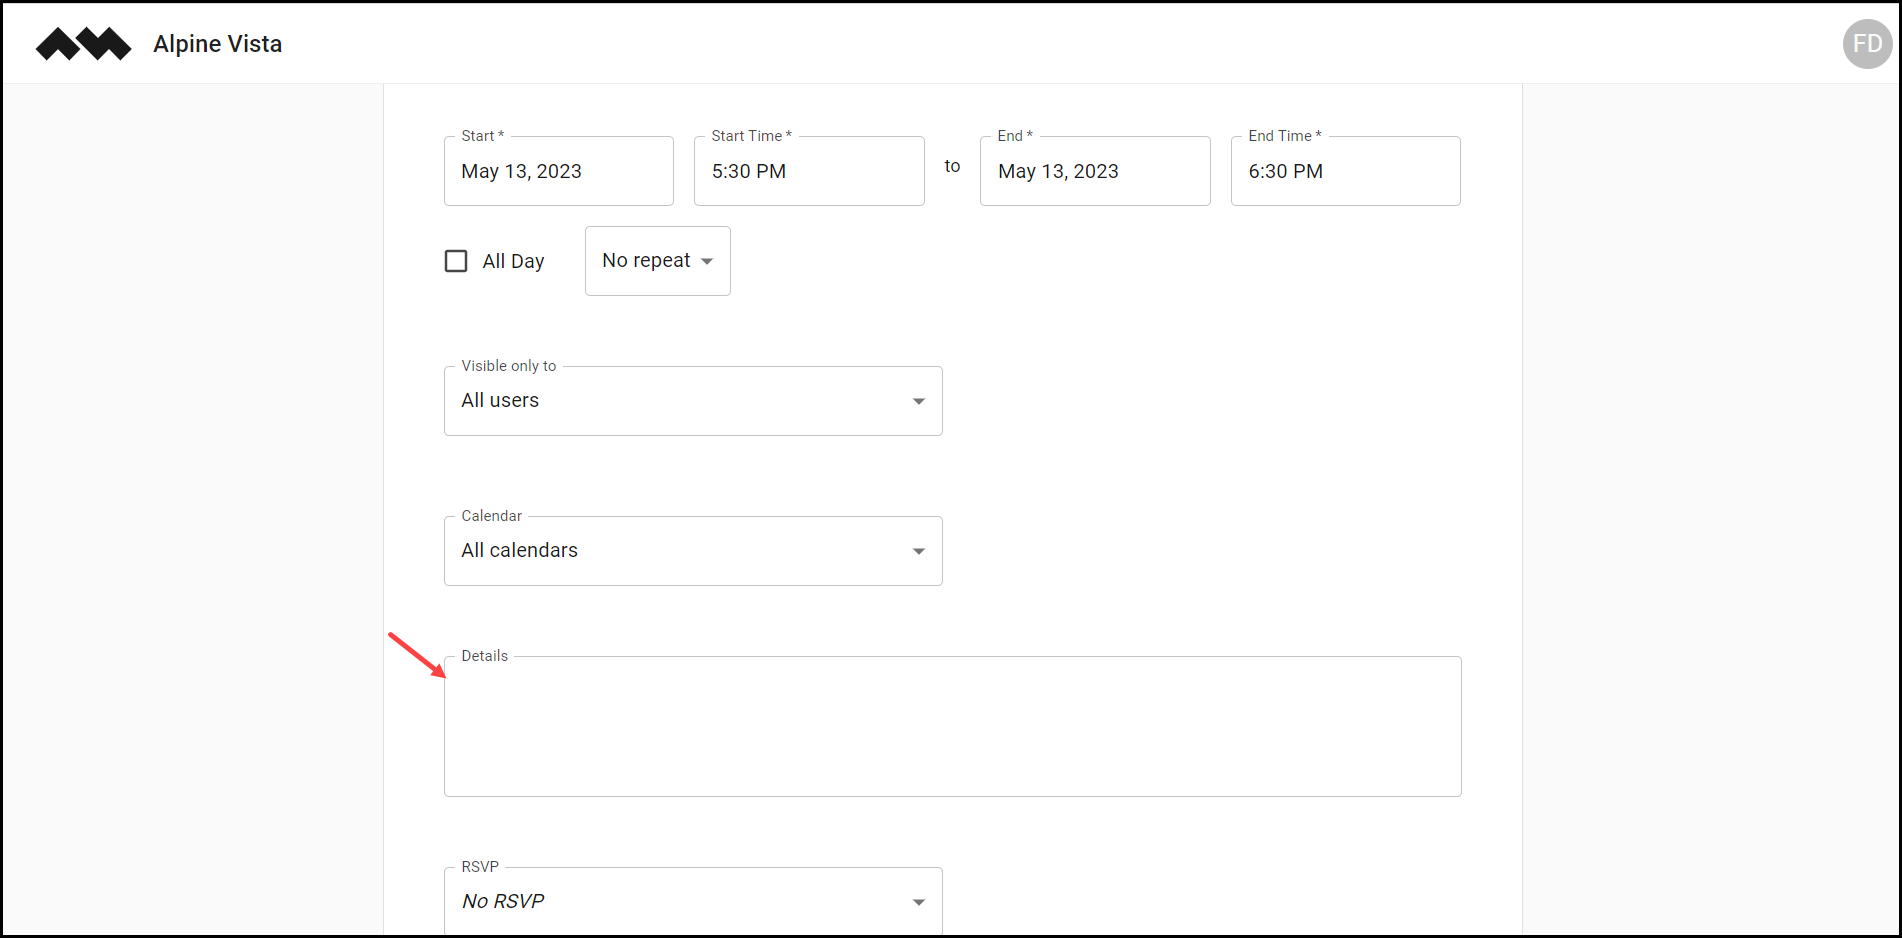
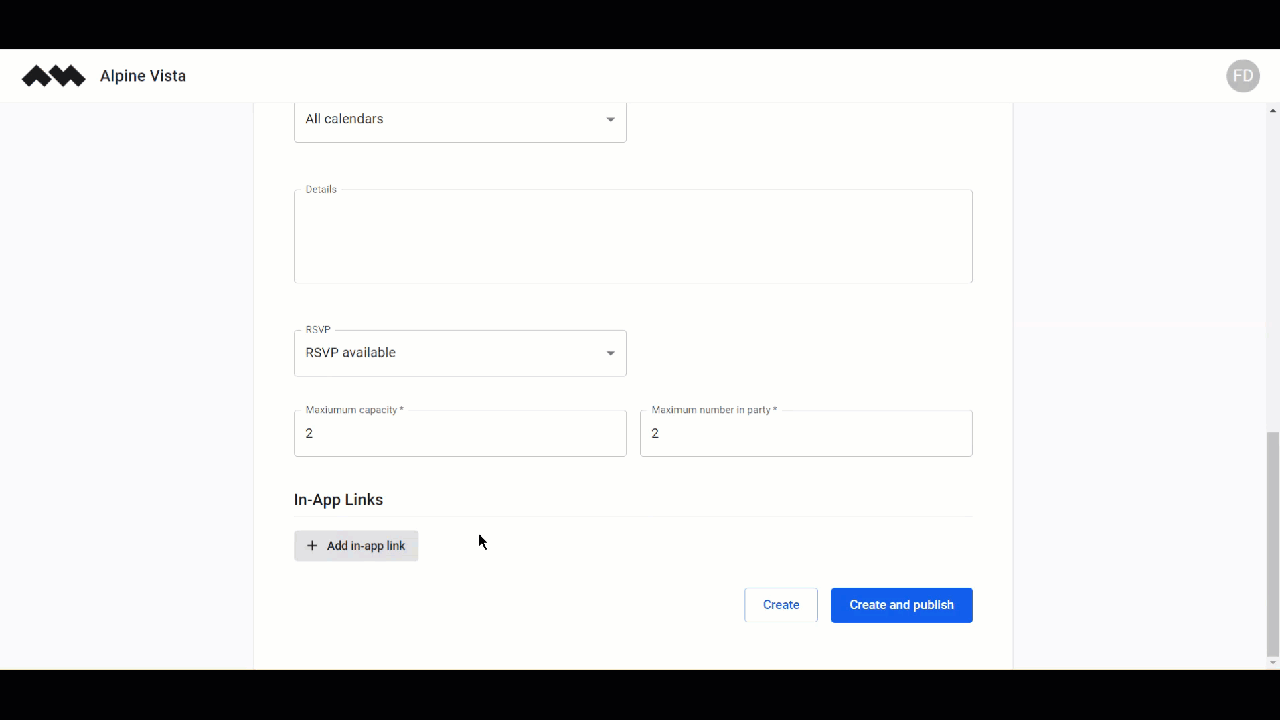
14. Enter the details of the event in the Details textbox.
15. In case you want to include special invitations, use the RSVP dropdown to make the selection. As the selection is made, a couple of fields are revealed that include Maximum capacity and Maximum number in party. You can define the capacity and number of special invitations in the event using these fields.
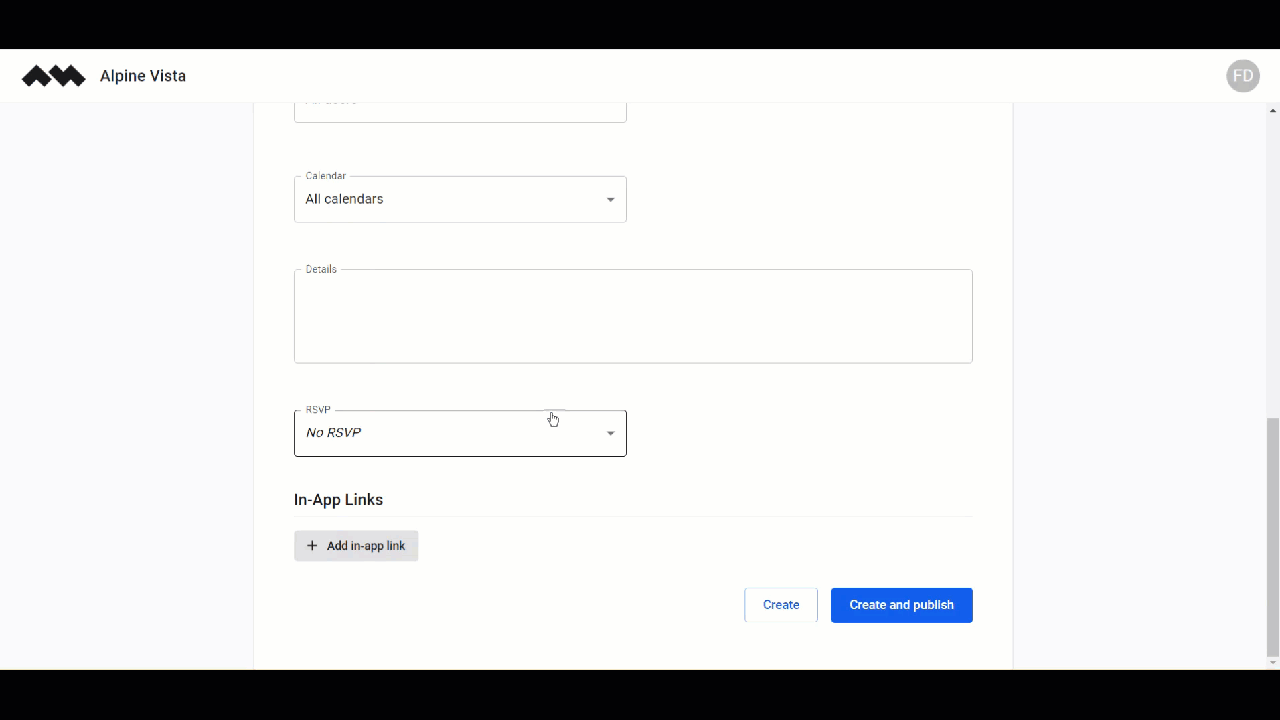
16. To include the in-app links, click the Add in-app link button. This reveals a couple of dropdowns and a field.
17. Select the category using the Category dropdown.
18. Choose the resource using the Resource dropdown.
19. Enter the label for the in-app link in the Button Label field.
20. Once the required information is filled, click the Create button.
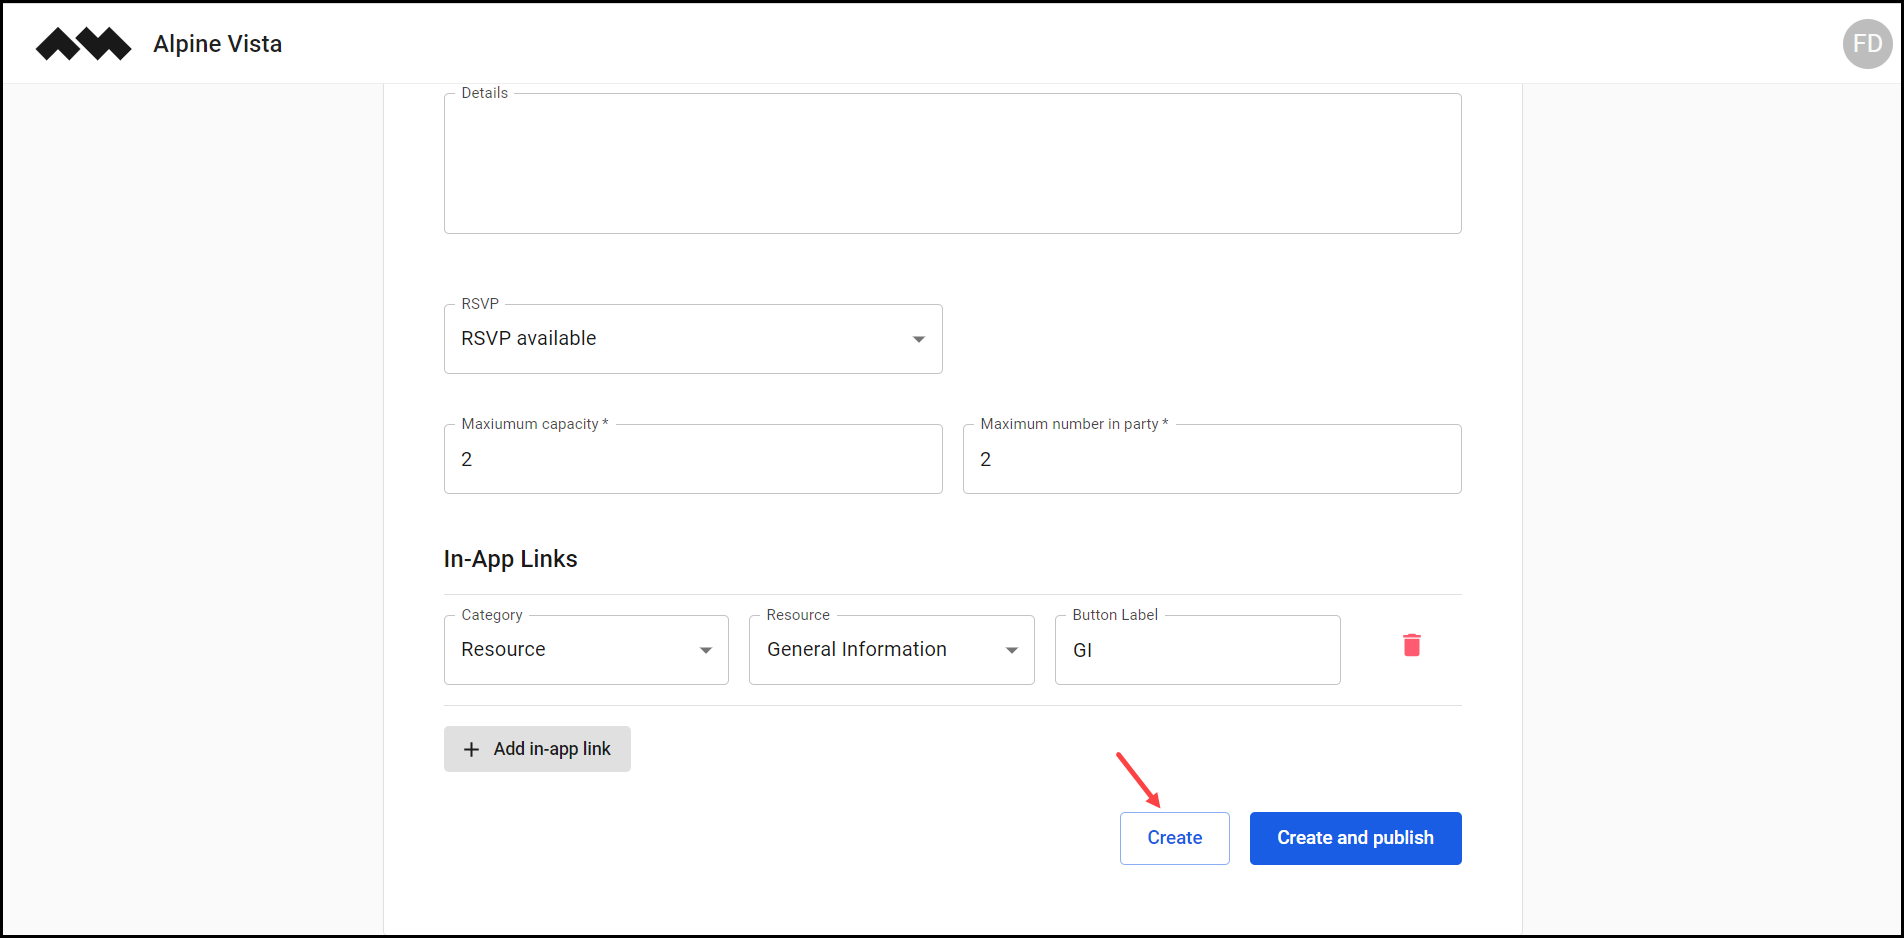
21. In case you want to create and publish the event, click the Create and Publish button.